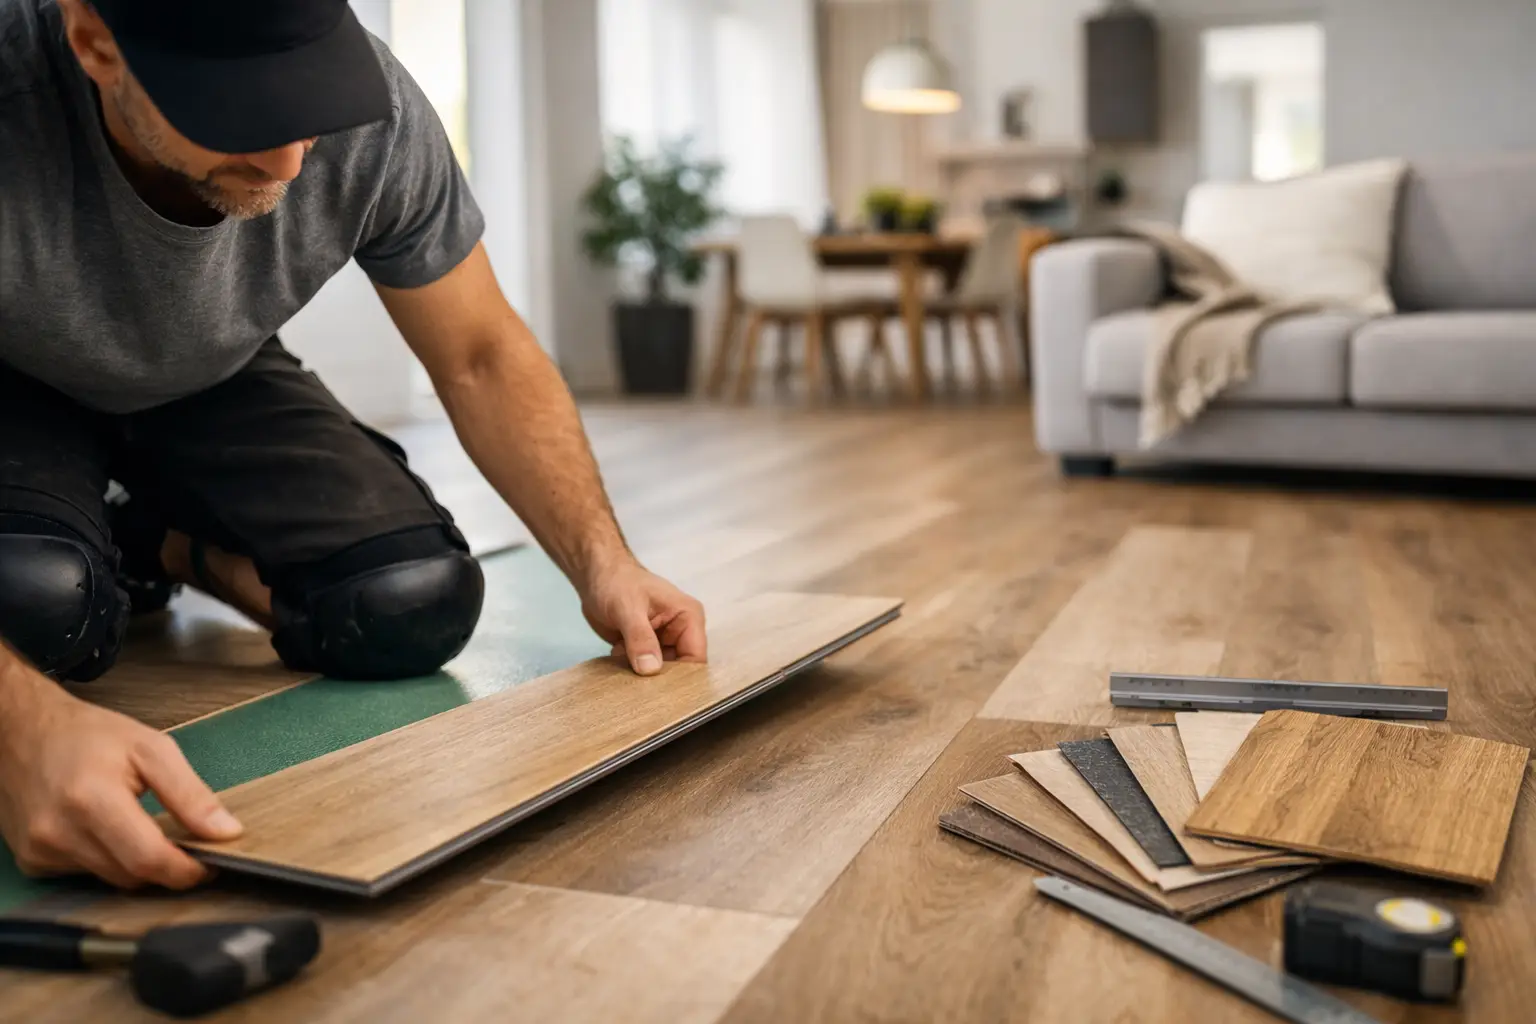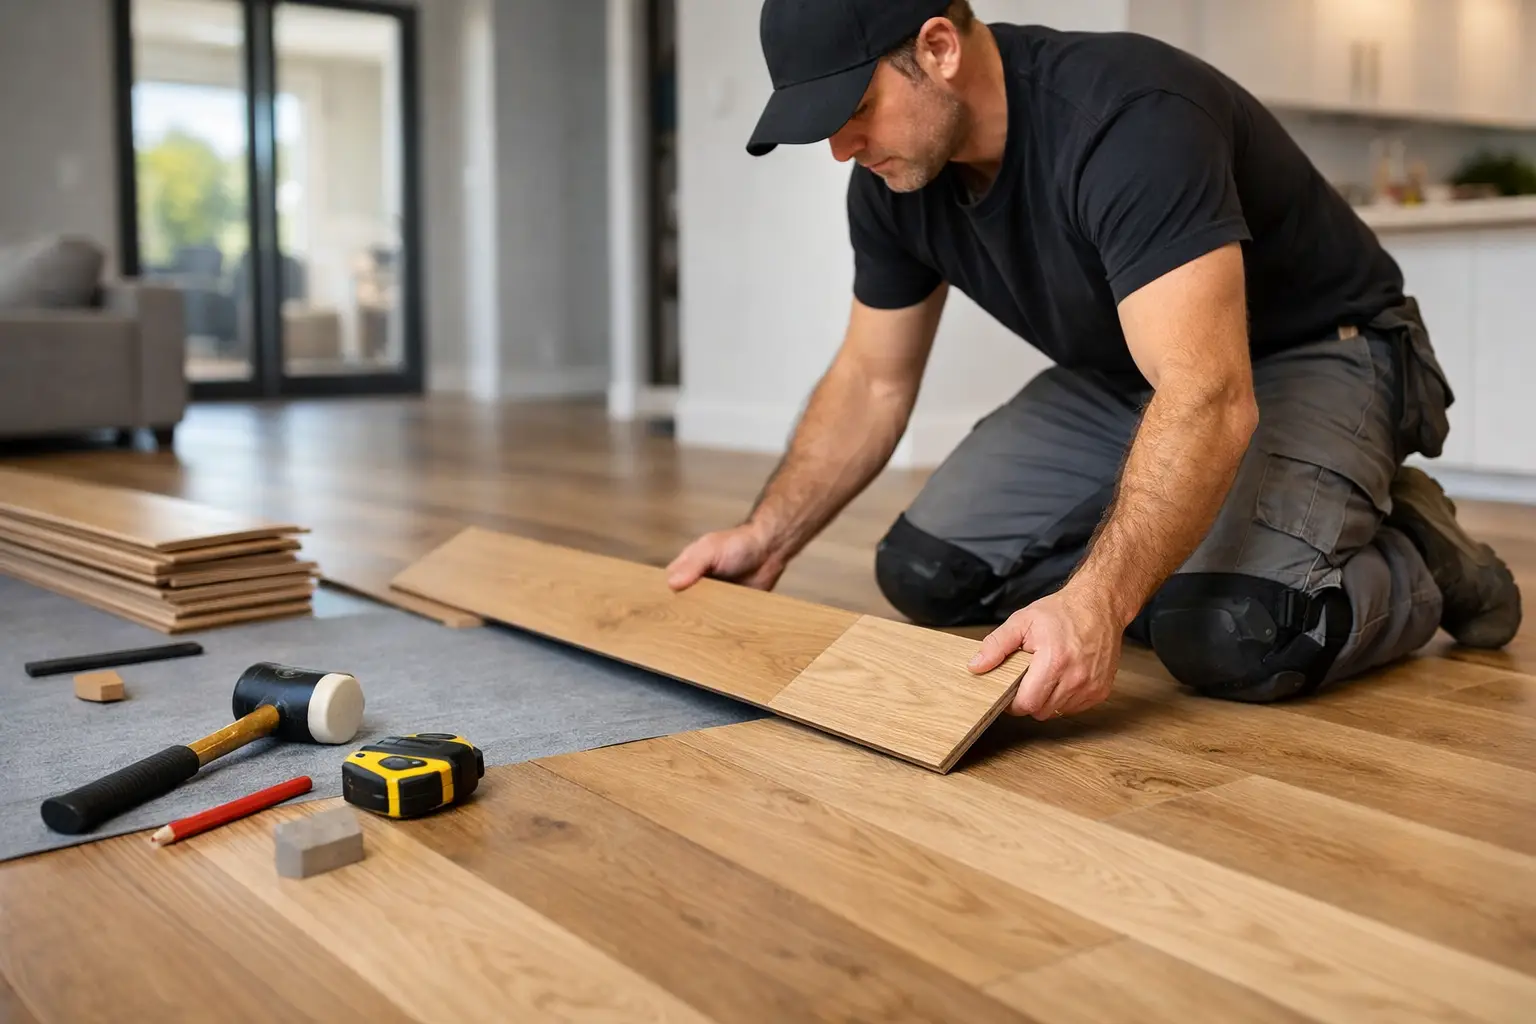
A new floor can look premium in the box and still fail on site if the base underneath is out. That is why knowing how to level a subfloor matters before a single board goes down. Gaps, bounce, peaking joins and premature wear often start with poor preparation, not the flooring itself.
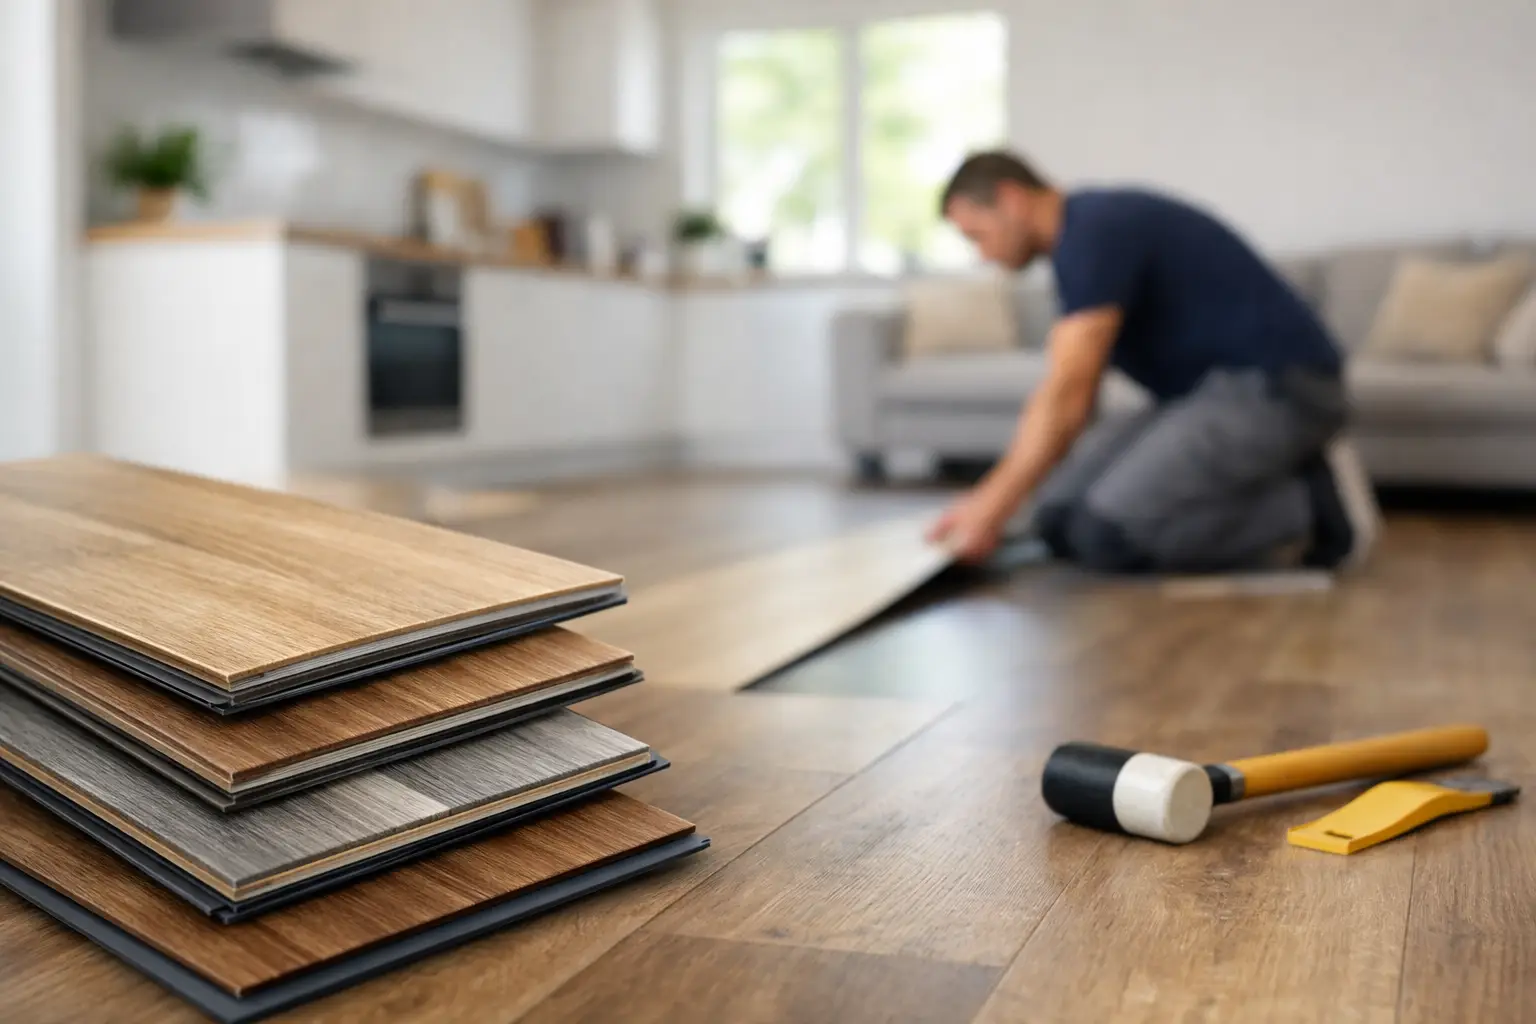
For engineered timber, hybrid, laminate and herringbone floors, a flat subfloor is not a nice extra. It is part of the installation system. If the surface is uneven, the boards will follow those highs and lows, and the end result can look average even when the product is excellent.
Table of Contents
Why subfloor levelling matters
Most people think of levelling as making the floor perfectly horizontal. On a flooring job, the bigger issue is usually flatness. A subfloor can be slightly out of level across the room and still be suitable, provided it is flat enough for the product being installed. What causes trouble are localised dips, ridges, old adhesive build-up, cracked sections and rough transitions between rooms.
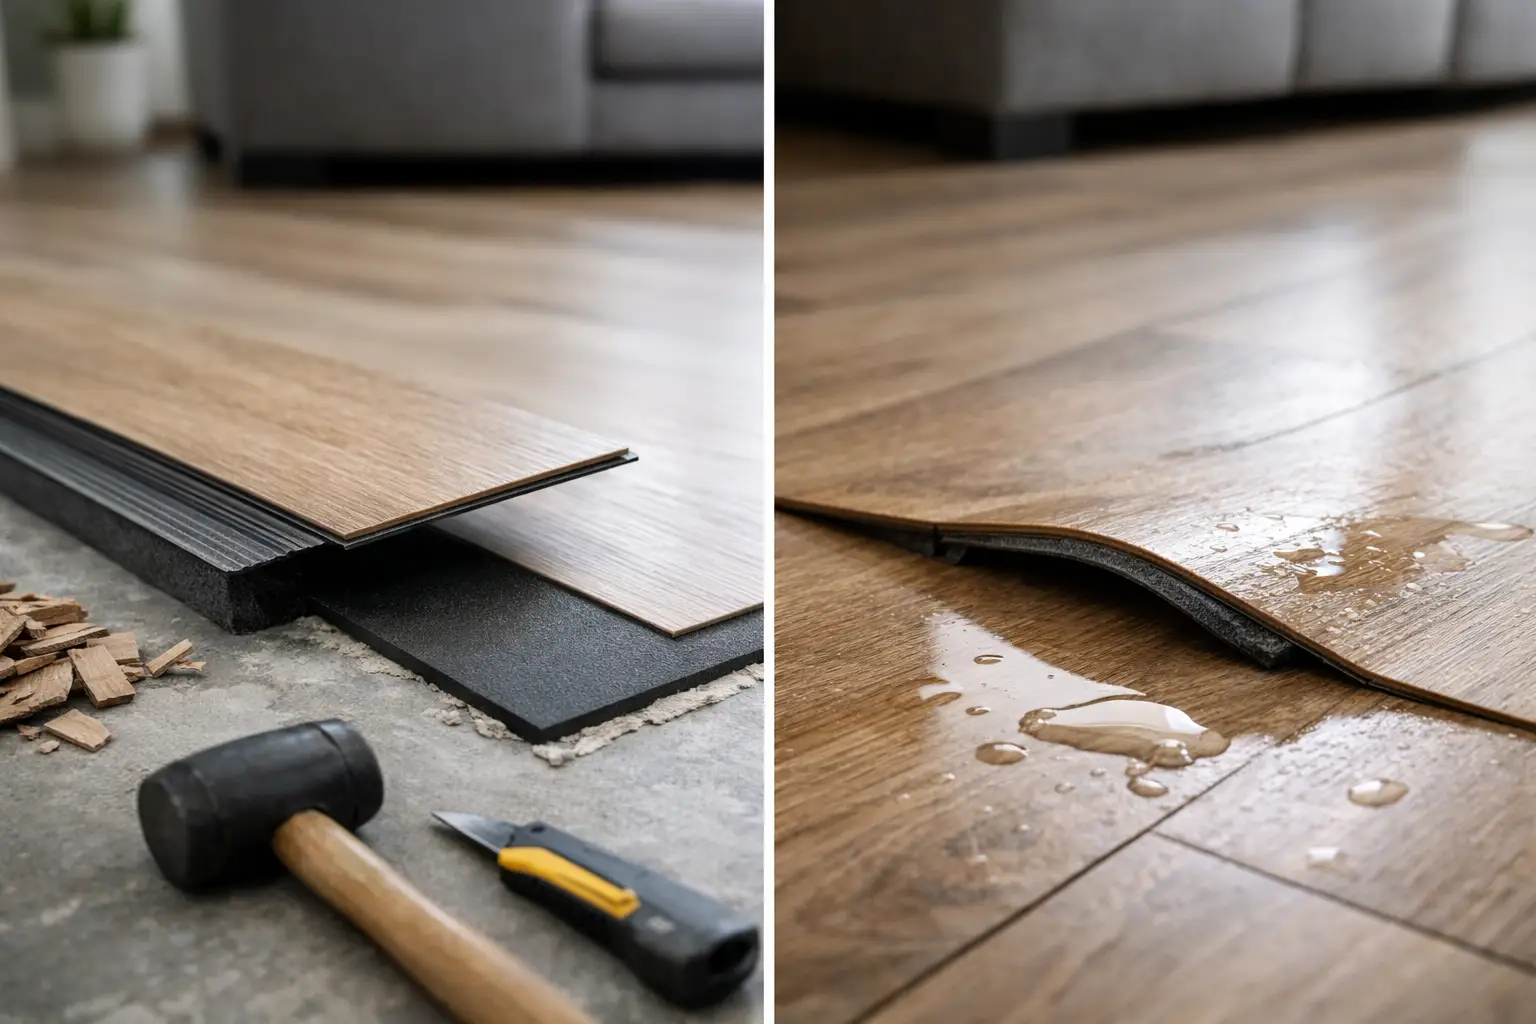
Those defects put stress on floating floors and create weak points under direct stick installations. On timber-look products, even a few millimetres can make a difference. You may hear hollow sounds underfoot, feel movement through the boards or see joins open up over time. In commercial spaces, where traffic is heavier, those problems tend to show up faster.
This is also where many flooring quotes go wrong. The visible floor gets all the attention, but the real performance starts underneath. Proper subfloor preparation adds cost upfront, but it usually saves far more than a repair or replacement later.
How to check if your subfloor needs levelling
Before deciding how to level a subfloor, the first step is to work out what type of base you have and how far out it is. In most homes and apartments, that means either a concrete slab or a timber subfloor. Each behaves differently and needs a different fix.
With concrete, common issues include old tile glue, hairline cracking, shrinkage dips and uneven patches from previous renovations. With timber subfloors, the problems are more often movement, squeaks, loose sheets, bowed joists or uneven yellow tongue installation.
A long straightedge, level or screed bar will tell you more than a quick visual check. Place it across different areas of the floor and look for daylight underneath or rocking on high spots. Product manufacturers usually specify a tolerance for flatness over a set distance. If the floor is outside that tolerance, it needs correction before installation.
Moisture also matters. A floor may be flat today and still unsuitable if the slab has excess moisture or the timber substrate is unstable. Levelling should never be used to hide a moisture issue. That has to be tested and addressed properly first.
Levelling a concrete subfloor
Concrete is often the more straightforward subfloor to correct, but only when the prep is done properly. The biggest mistake is pouring self-levelling compound over a dirty or weak surface and hoping it sorts itself out.
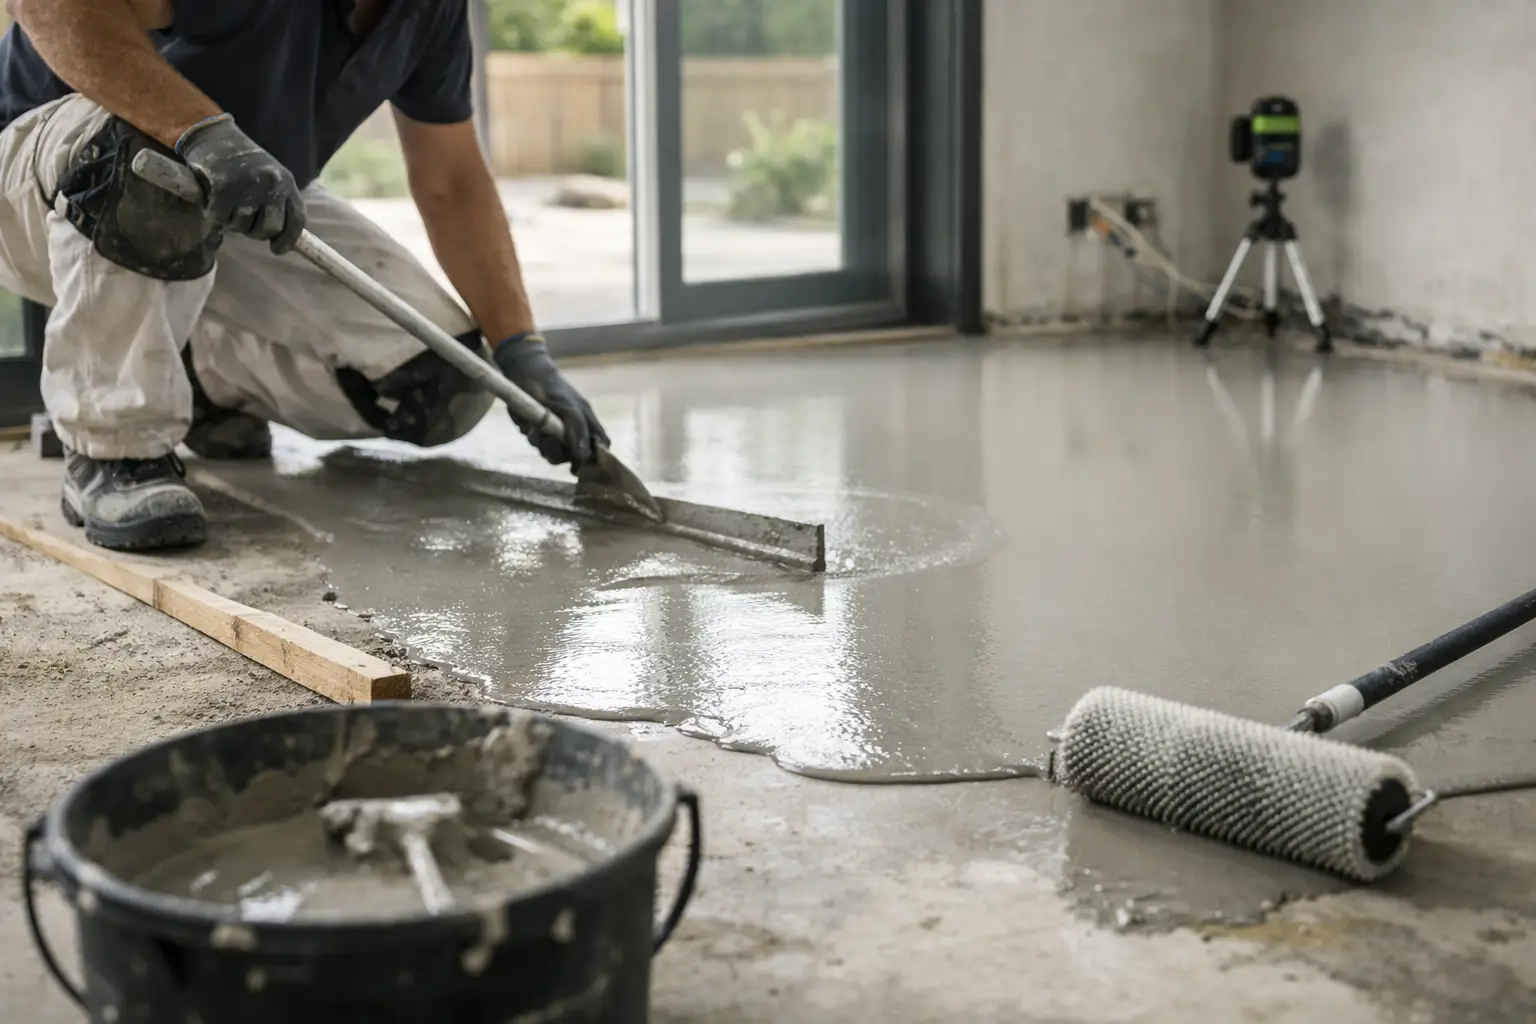
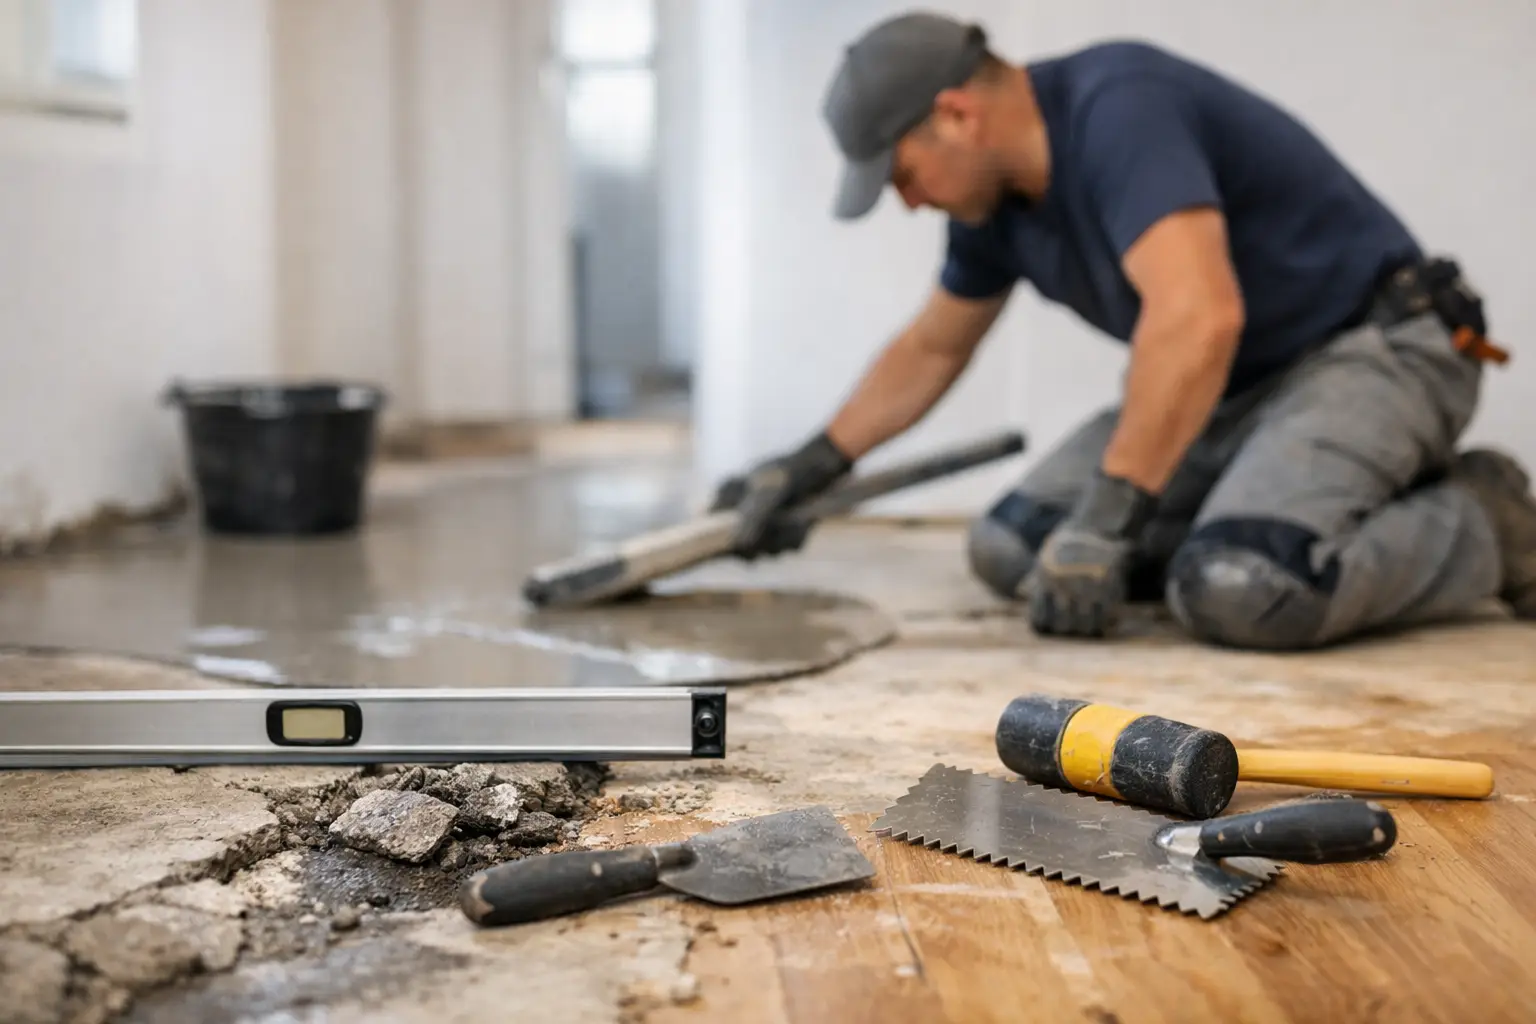
The slab needs to be clean, sound and mechanically prepared. That can mean grinding off paint, adhesive residue, tile glue or flaky surface material so the leveller bonds correctly. Cracks may need treatment depending on whether they are cosmetic or moving. Priming is also critical, because the right primer helps the levelling compound adhere and flow as intended.
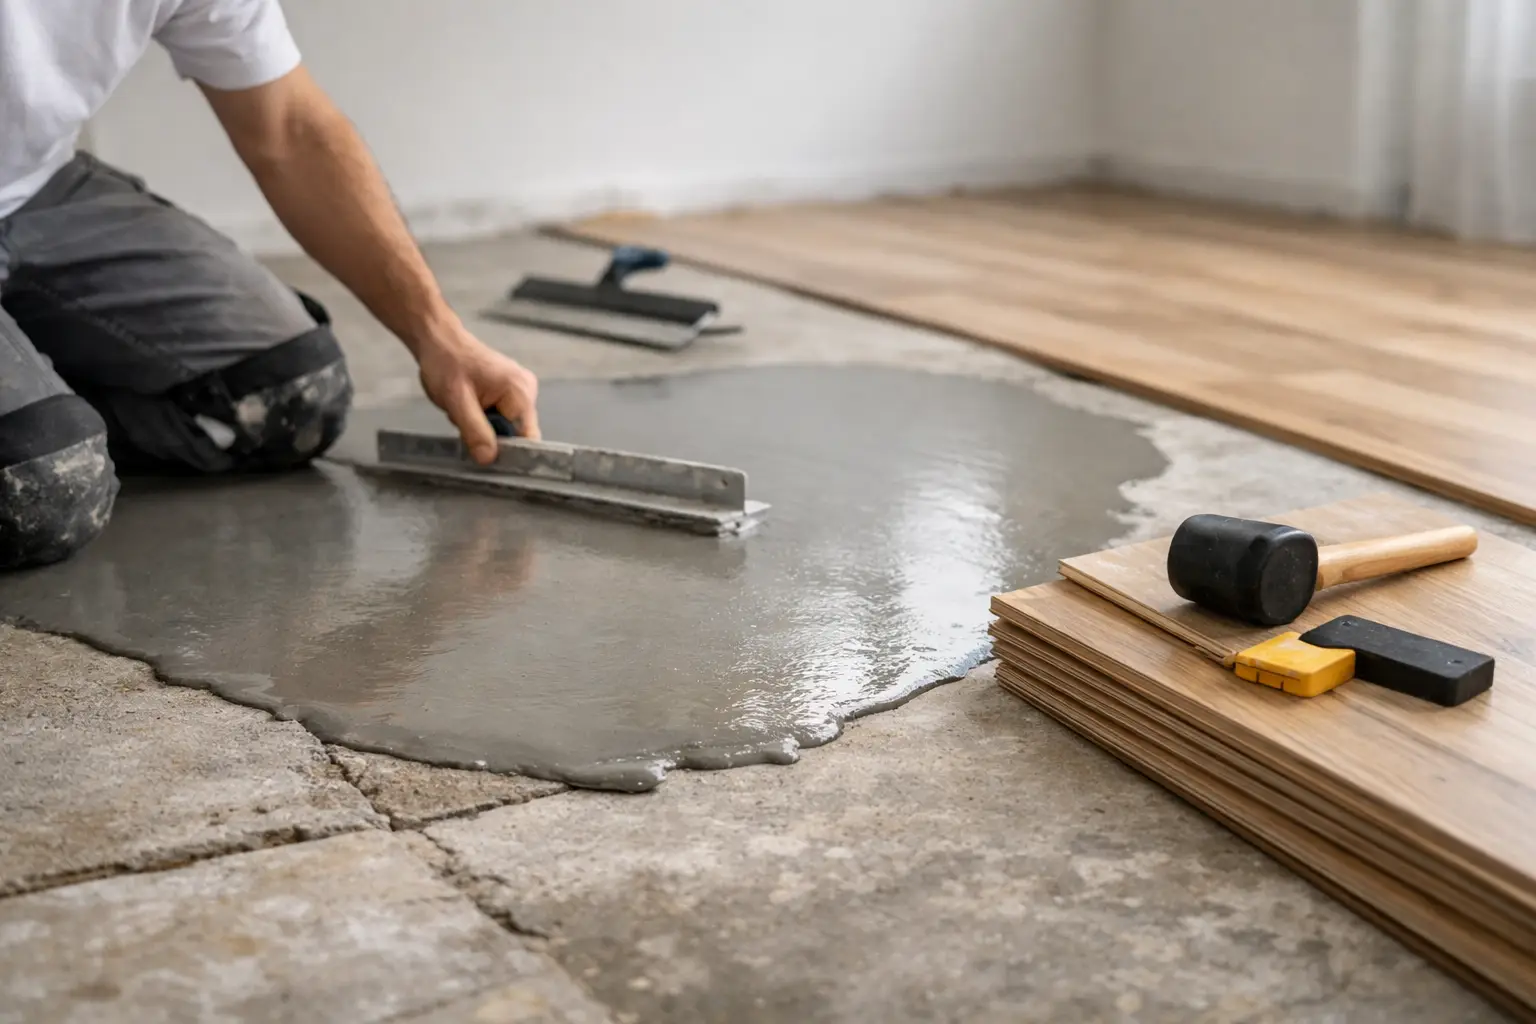
Once the floor is prepared, a quality self-levelling compound can be used to fill low areas or resurface the whole floor. This is commonly the best option when installing engineered timber, hybrid or laminate over concrete, especially if the slab has multiple inconsistencies. At Melbourne Quality Timber Flooring, this is one reason compounds such as Cemimax are used for subfloor preparation – they provide a more reliable base for premium finishes.
That said, self-levelling products are not magic. If the floor has major falls, severe cracking or substrate failure, a simple skim coat will not be enough. In those cases, more involved rectification may be needed before the flooring stage even begins.
Grinding high spots vs filling low spots
Not every uneven slab needs a full pour. Sometimes the best result comes from reducing high spots with a grinder and then using levelling compound only where needed. This can be more efficient, especially in apartments or renovation projects where floor heights at doorways and adjoining rooms need to stay under control.
If you only keep building up low areas without removing peaks, you can create new problems with transitions, skirting clearance and appliance heights. Good levelling is not just about getting the surface flat. It is about managing the finished floor level across the whole job.
How to level a subfloor made of timber
Timber subfloors are a different story because movement is often part of the issue. If the sheets or boards are loose, swollen or structurally uneven, pouring leveller over the top will not solve the real problem.
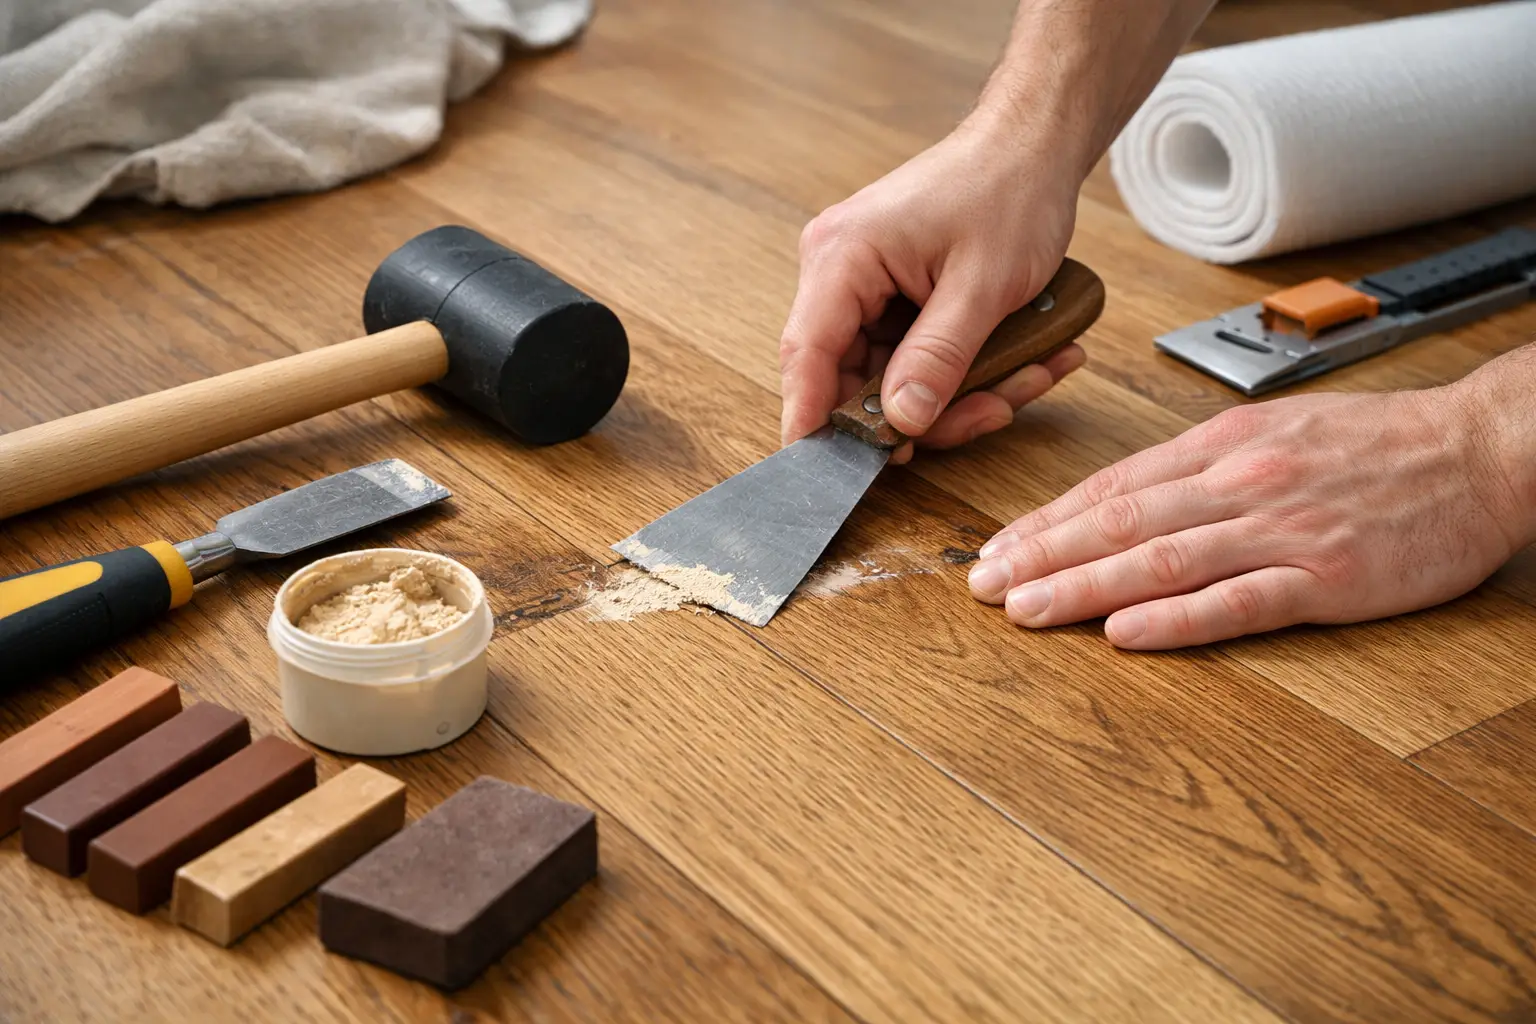
Start by securing any loose sheets and fixing squeaks where possible. Damaged particleboard or plywood may need replacing. If there are localised high points from swollen joints or poor sheet alignment, sanding can help. In some cases, thin underlay systems or sheeting methods can be used to correct minor variation, but they must suit the flooring product being installed.
For more significant unevenness, the correction may need to happen at the structural level, particularly if joists are causing the floor to dip or crown. That is less a flooring issue and more a carpentry one. It is worth saying because many homeowners try to force a flooring solution onto a substrate problem.
Levelling compounds can be used over some timber substrates, but only with the correct product system and reinforcement where required. This is not the place for guesswork. Timber expands, contracts and flexes differently from concrete, so compatibility matters.
Common mistakes when levelling a subfloor
The most common mistake is treating levelling as optional. People will spend good money on better boards, wider planks or a herringbone pattern, then cut corners on the preparation. The visual impact of a premium floor disappears quickly if the base is poor.
Another issue is choosing the wrong method for the substrate. A concrete leveller used incorrectly over timber, or patching only the obvious dip while ignoring a broader flatness issue, can lead to more movement later. Rushing cure times is another regular problem. If the levelling compound has not dried properly before the floor goes down, the installation can be compromised from day one.
Then there is the assumption that underlay fixes everything. Underlay has a job, but it is not designed to compensate for a badly uneven subfloor. If the substrate is outside tolerance, no standard underlay will make it installation-ready.
DIY or professional levelling?
There are minor prep tasks that capable renovators can handle, such as removing floor coverings, cleaning the slab or identifying obvious defects. But once you move into moisture testing, grinding, priming and pouring self-levelling compound, the margin for error gets smaller.
A levelling product sets fast. You need the right mix, the right tools and a clear plan for how it will flow across the room. If the floor is large, broken into sections or has tight tolerances for a feature installation like herringbone, professional prep is usually the safer choice. The floor covering is too visible and too expensive to risk on a base that is only half-corrected.
For homeowners, the practical question is not just whether you can do it yourself. It is whether you want to wear the cost if the floor starts moving, sounding hollow or showing defects after installation.
What a good result looks like
A properly levelled subfloor should feel boring, and that is the point. No soft spots, no ridges telegraphing through, no visible compensation tricks at thresholds. The boards sit properly, the joins behave as they should and the finished floor looks clean and settled.
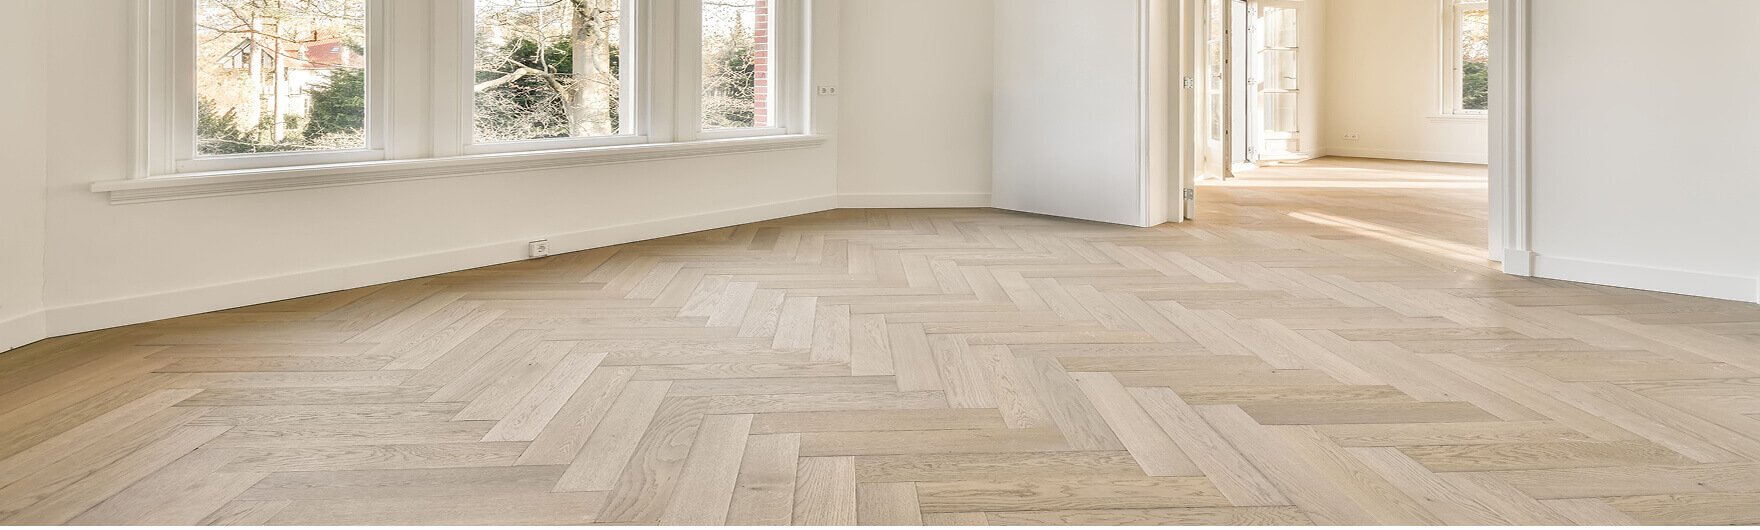
That base work also gives you more confidence when selecting higher-end products. Wider engineered boards, hybrid planks with rigid cores and patterned layouts all rely on accurate prep. The better the subfloor, the better those finishes perform over time.
If you are planning a new floor, ask about the prep before you focus on colours and board widths. A straight answer on subfloor condition is often the difference between a floor that simply looks good on installation day and one that still looks right years later.
The part nobody sees is often the part that matters most. Get that right, and the rest of the floor has a fair chance to do its job.