How to Install Herringbone Flooring Right

Home > How to Install Herringbone Flooring Right

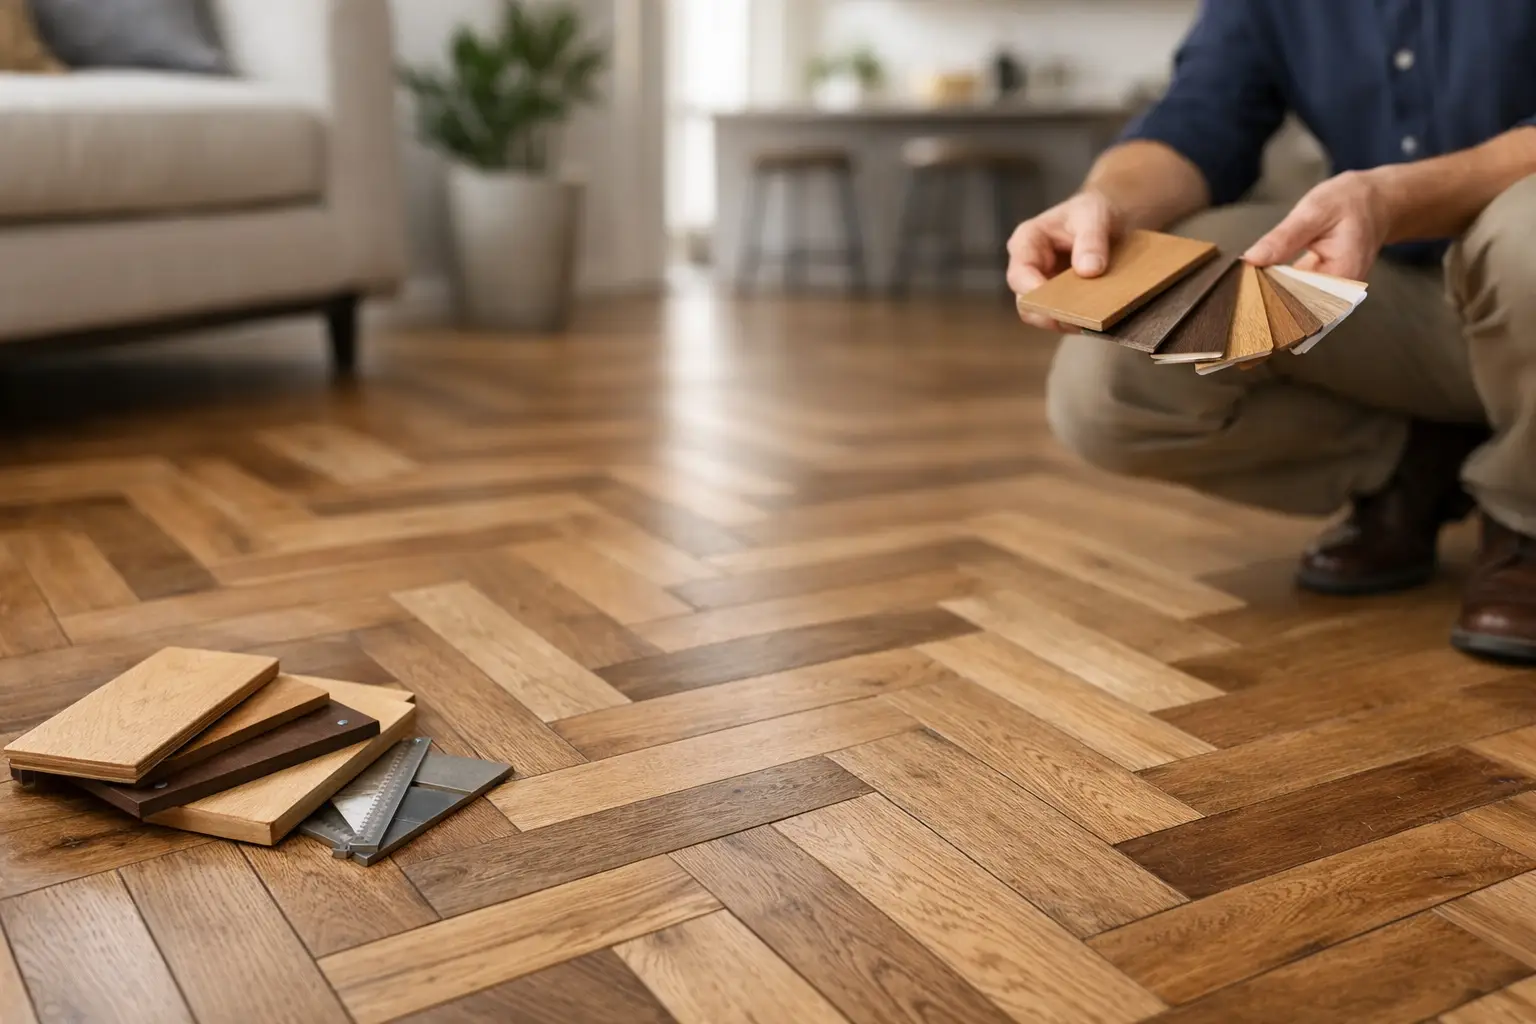
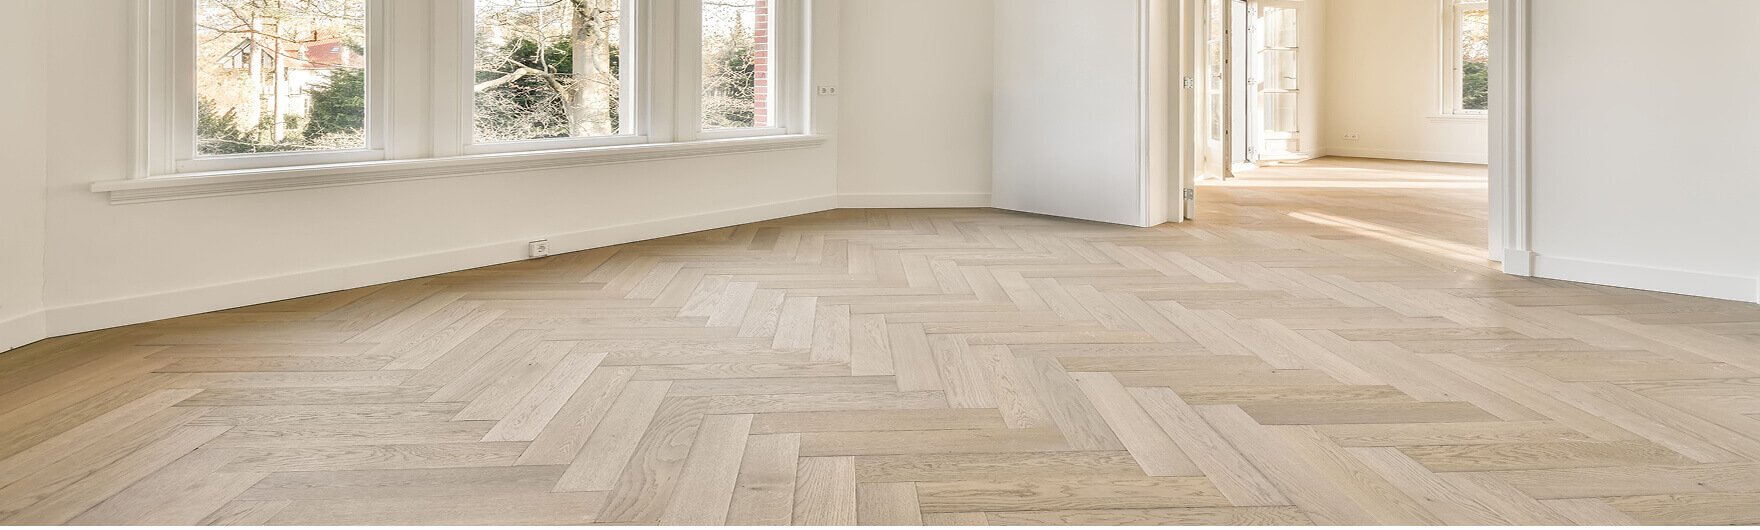
A herringbone floor looks sharp for a reason. When the pattern is clean, the lines are balanced and the boards sit flat, it lifts the whole room. When it is rushed, every gap, drift and uneven section stands out. That is why knowing how to install herringbone flooring properly matters more than it does with a standard straight lay.

Herringbone is less forgiving. The pattern draws the eye, so small mistakes become obvious fast. That does not mean it cannot be done well. It just means the prep, setting out and subfloor work need to be right before the first board goes down.

How to install herringbone flooring without layout problems

The biggest mistake in herringbone installation is starting too early. People often focus on the boards and adhesive, but the real job begins with the subfloor and the set-out. If either is off, the pattern will wander and the finished floor will never look as crisp as it should.

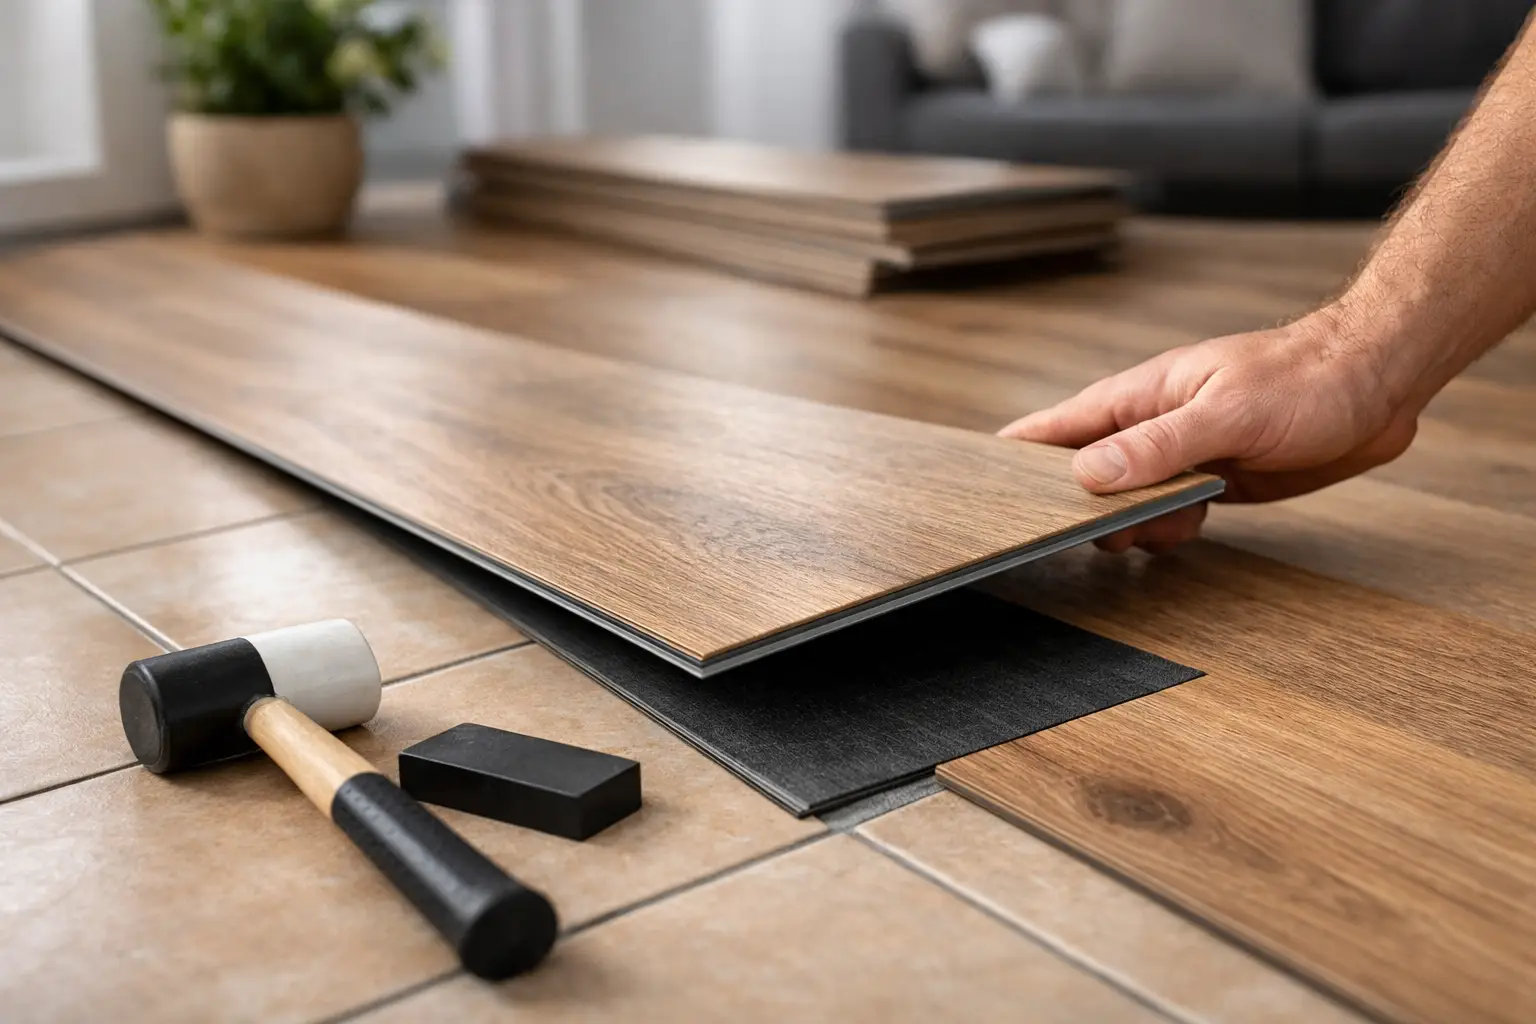
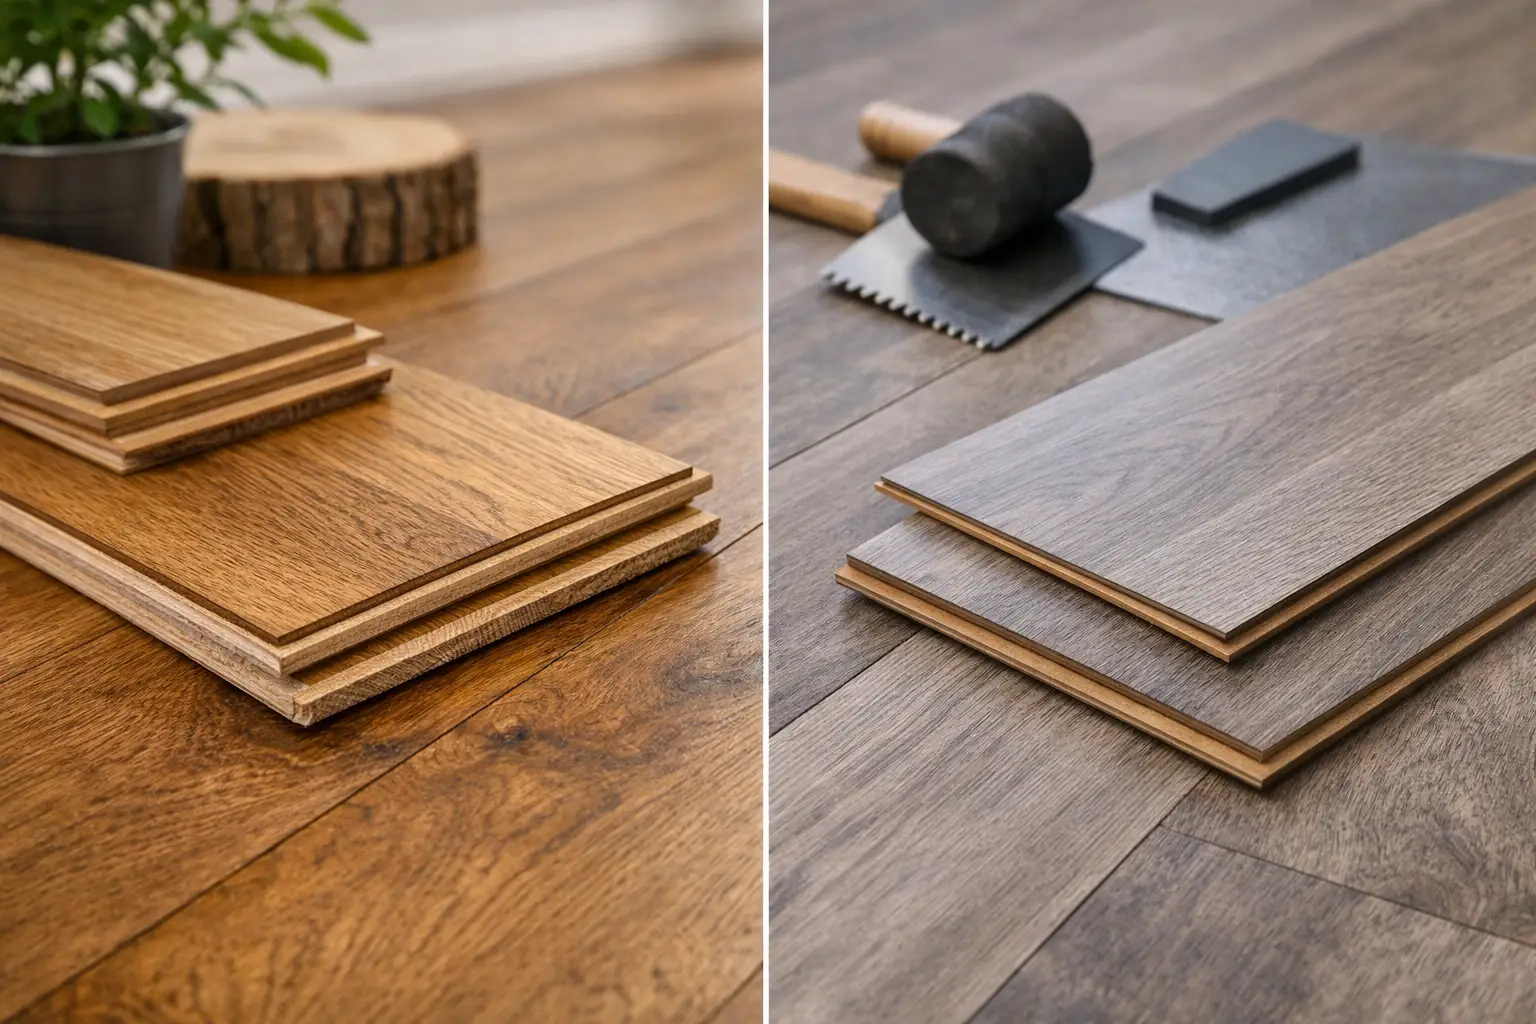
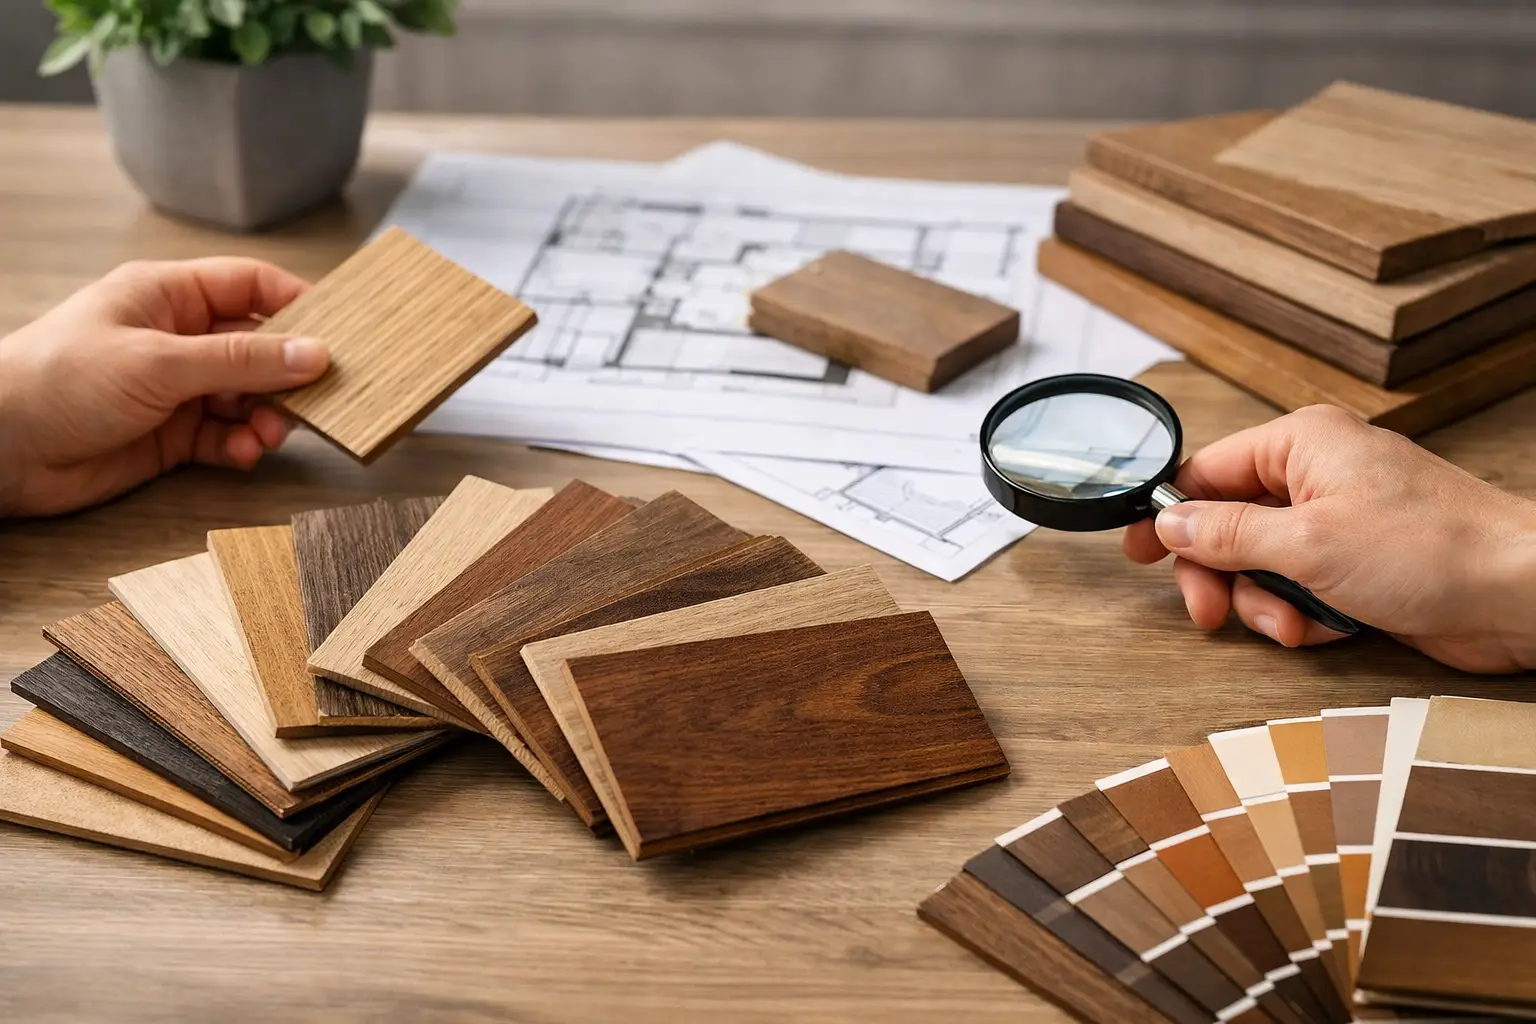
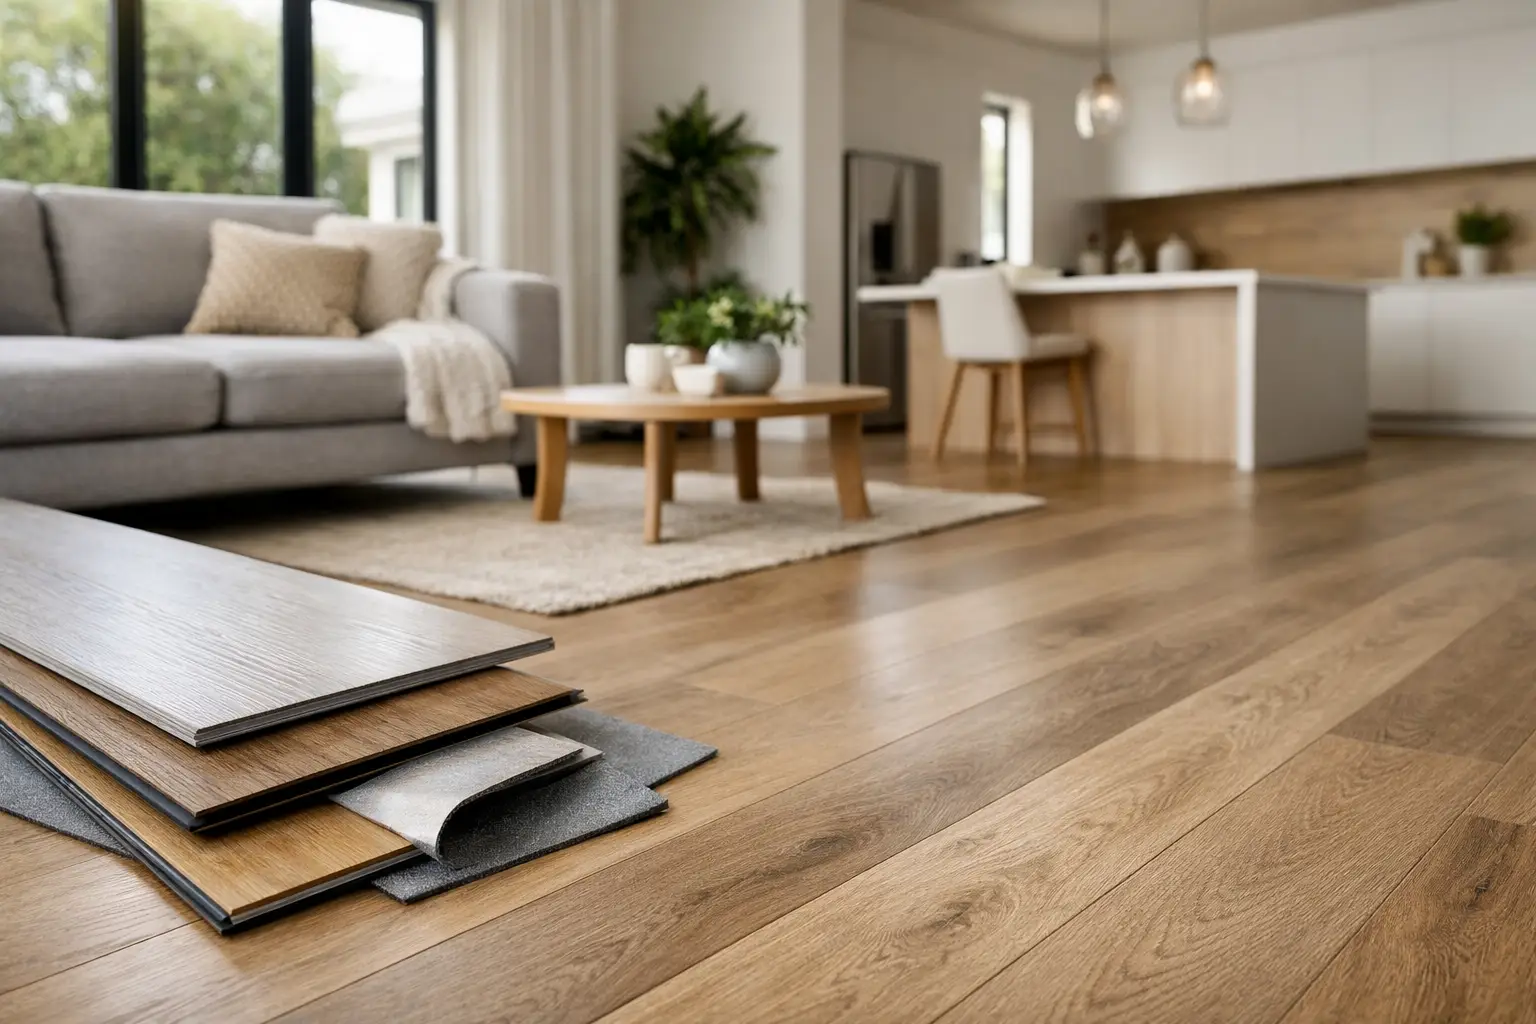
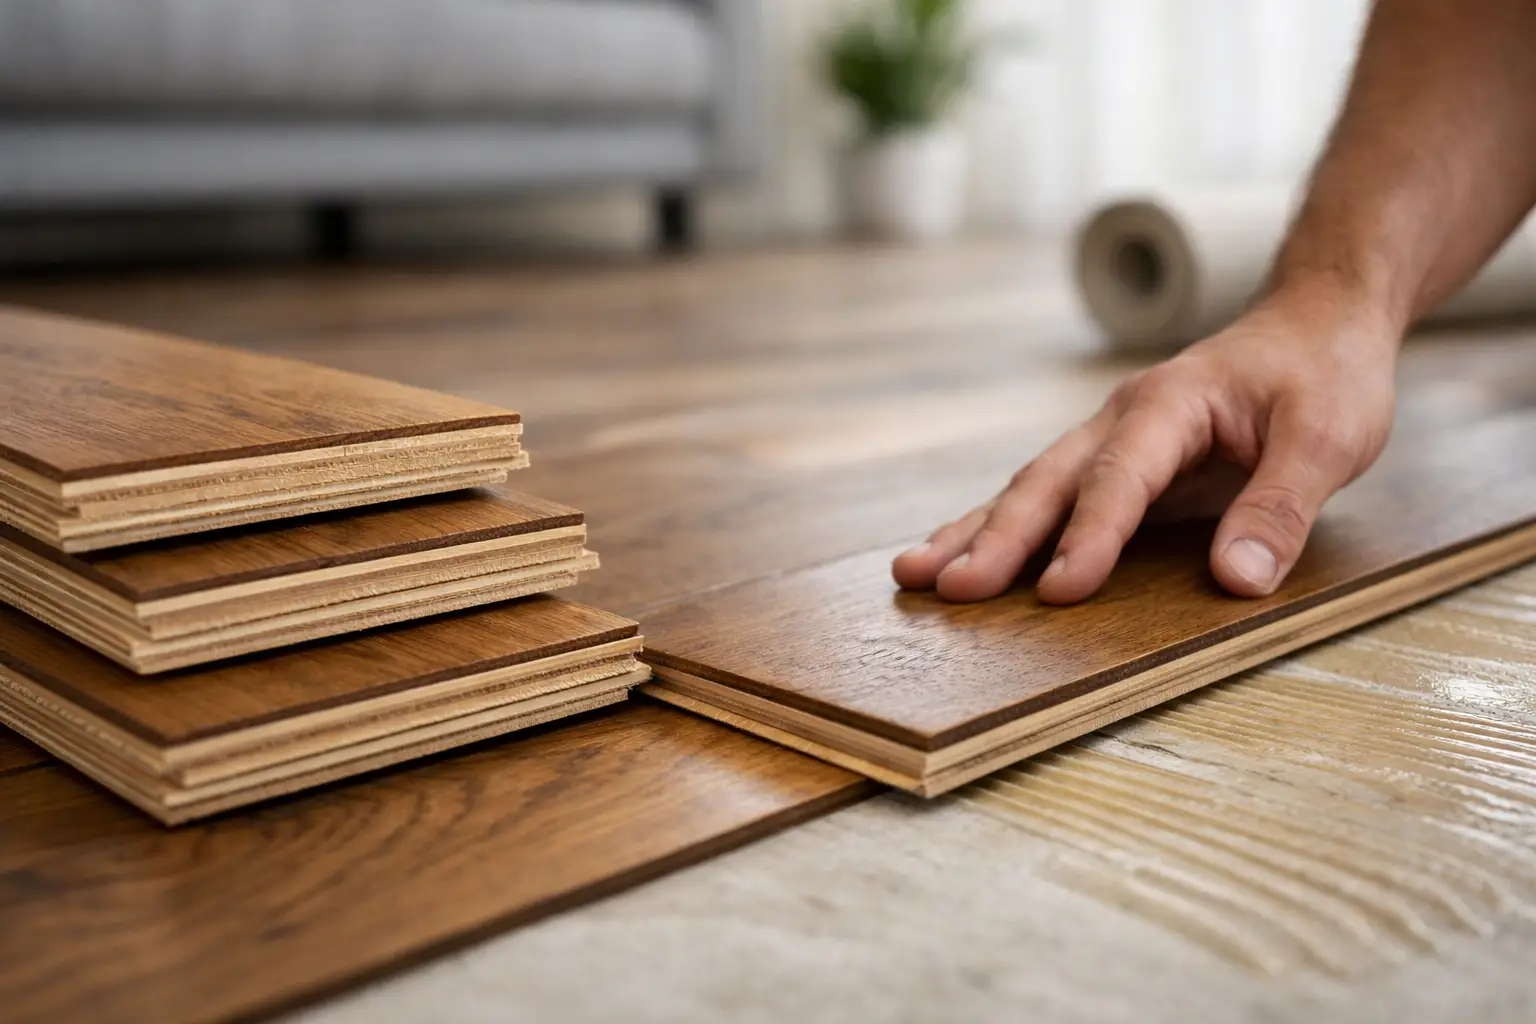
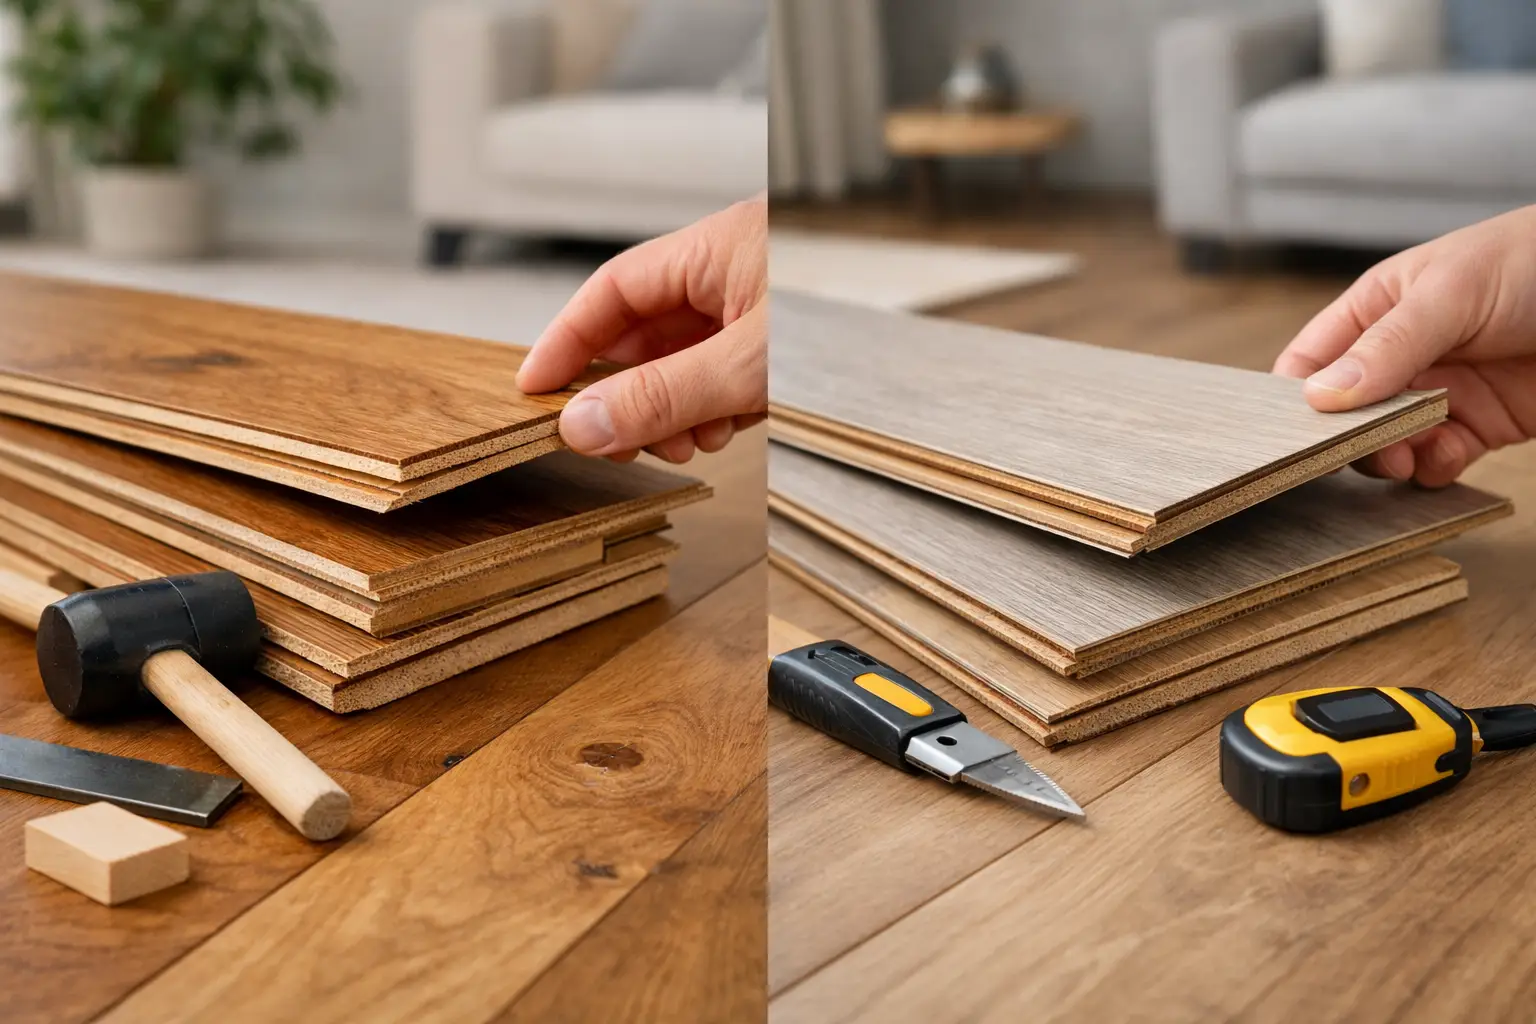
Before anything else, check what type of flooring you are installing. Some herringbone products are engineered timber designed for glue-down installation. Others may be laminate or hybrid systems with a click profile, but even then, the room conditions and manufacturer requirements still matter. There is no single method that suits every product, so always work to the specifications of the board you are using.

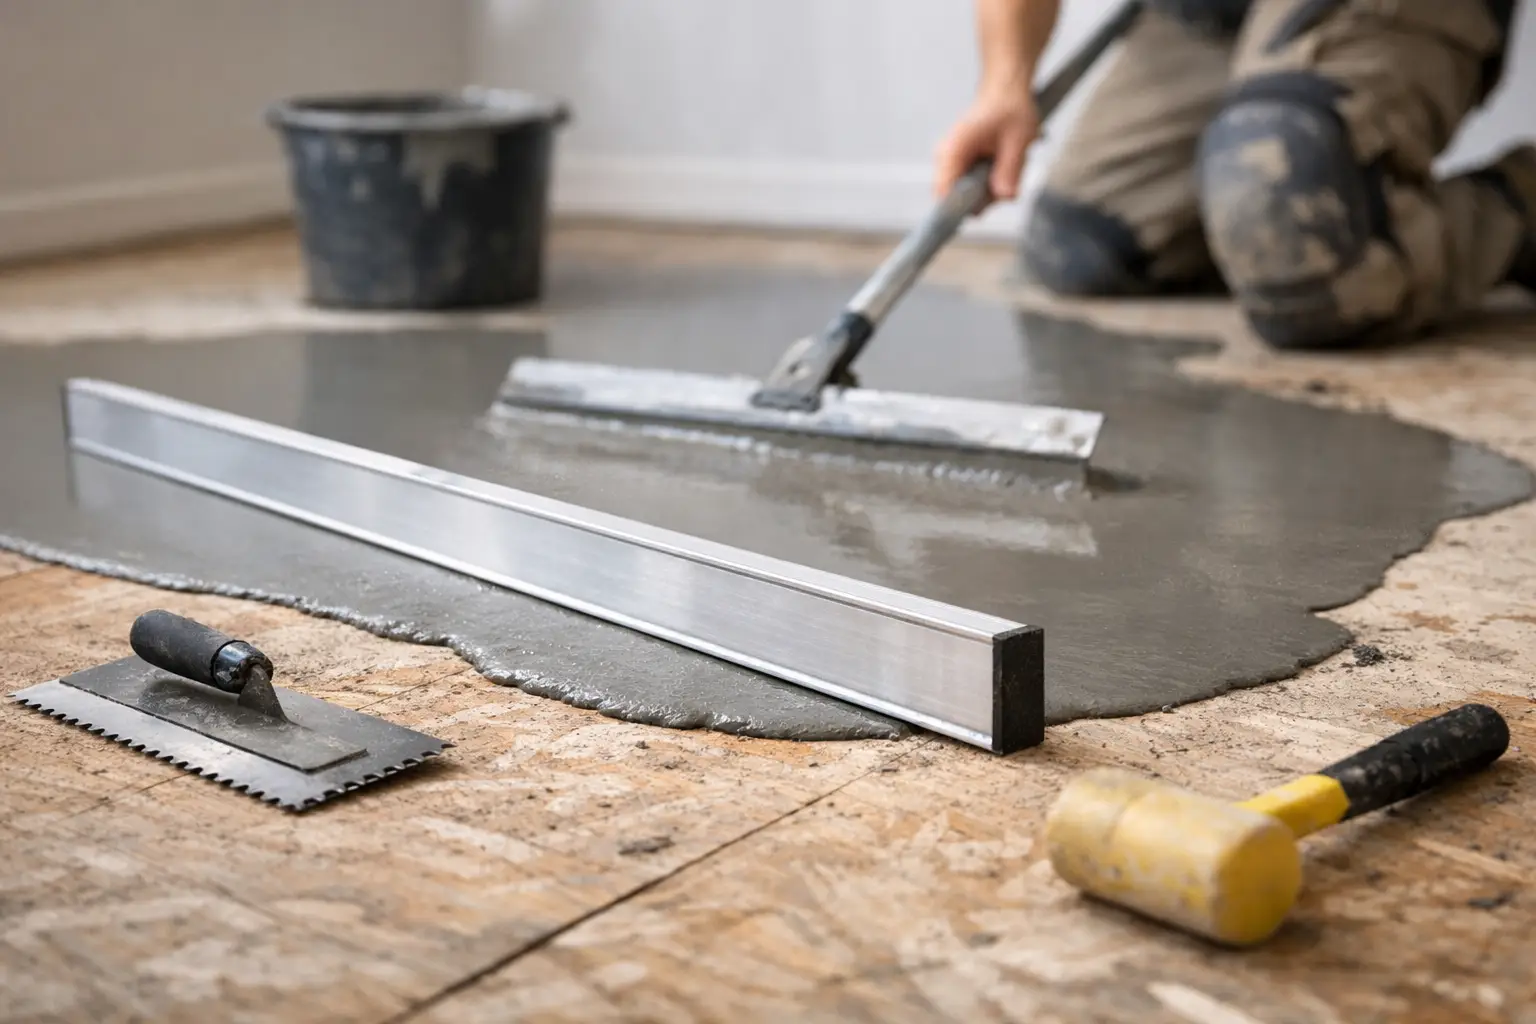
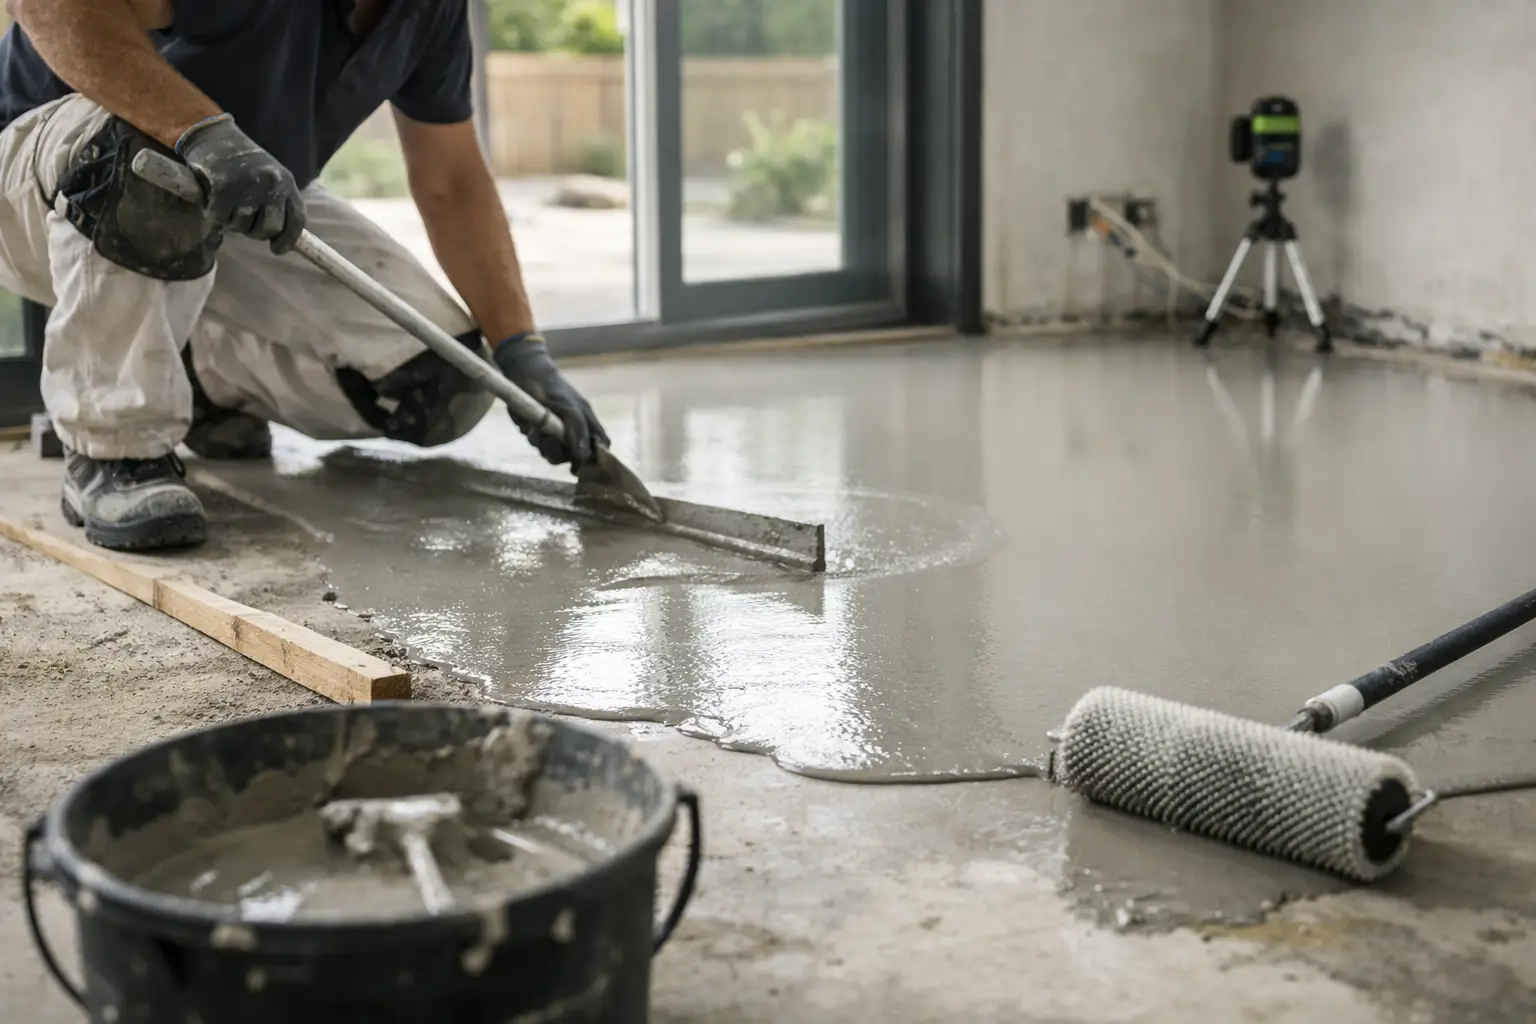
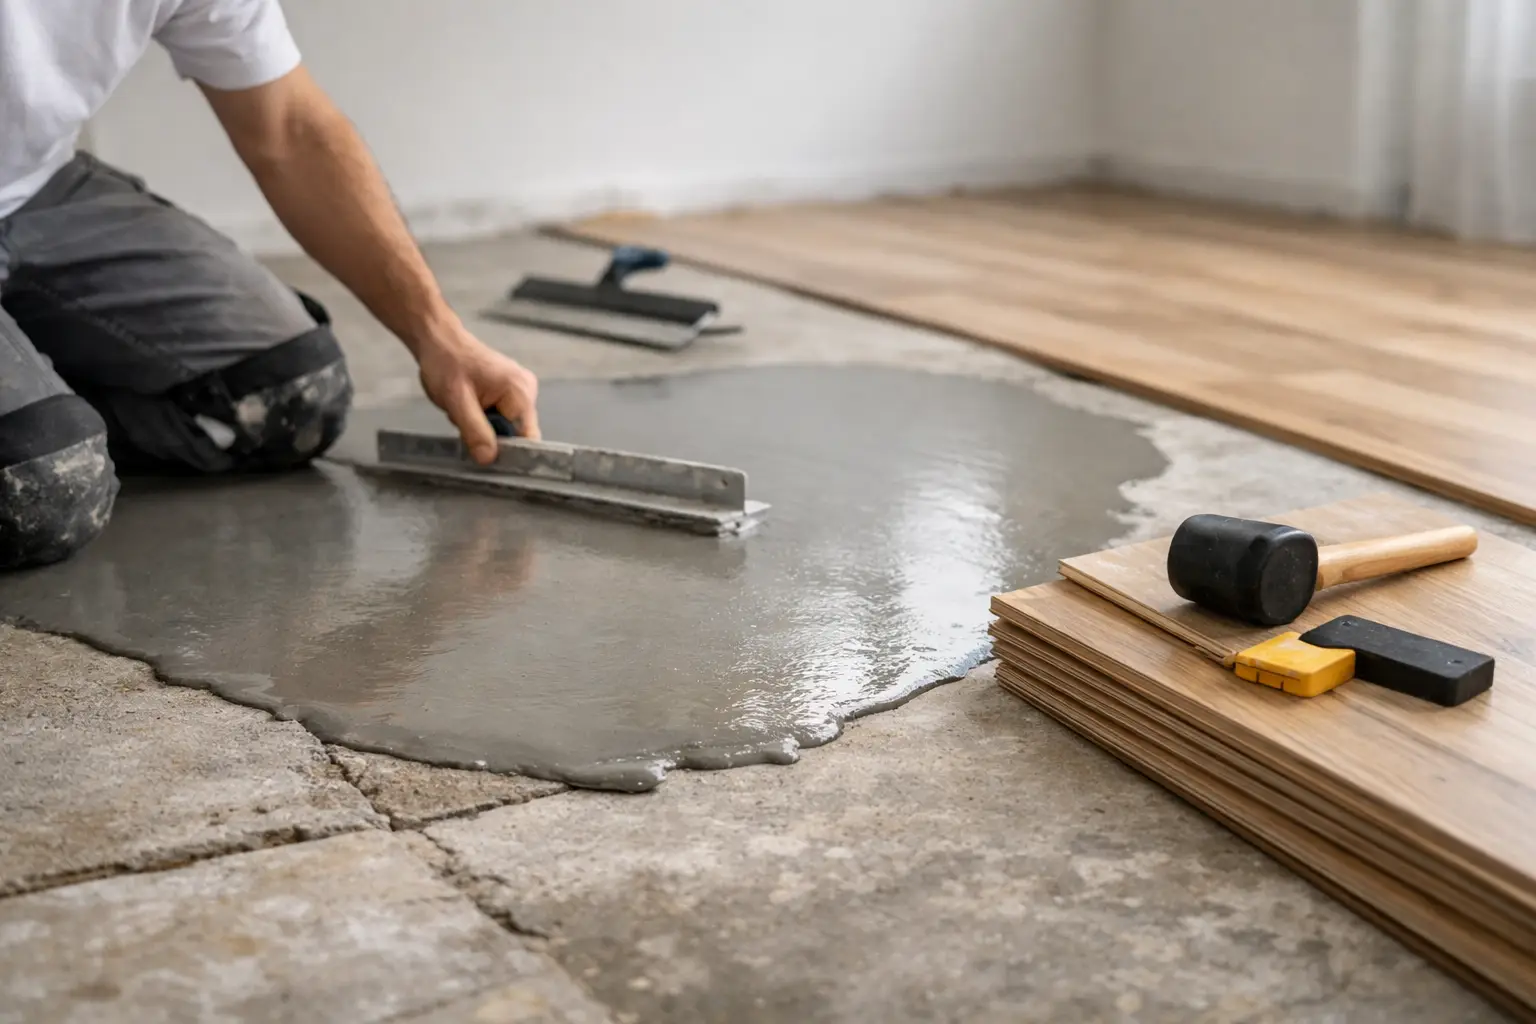
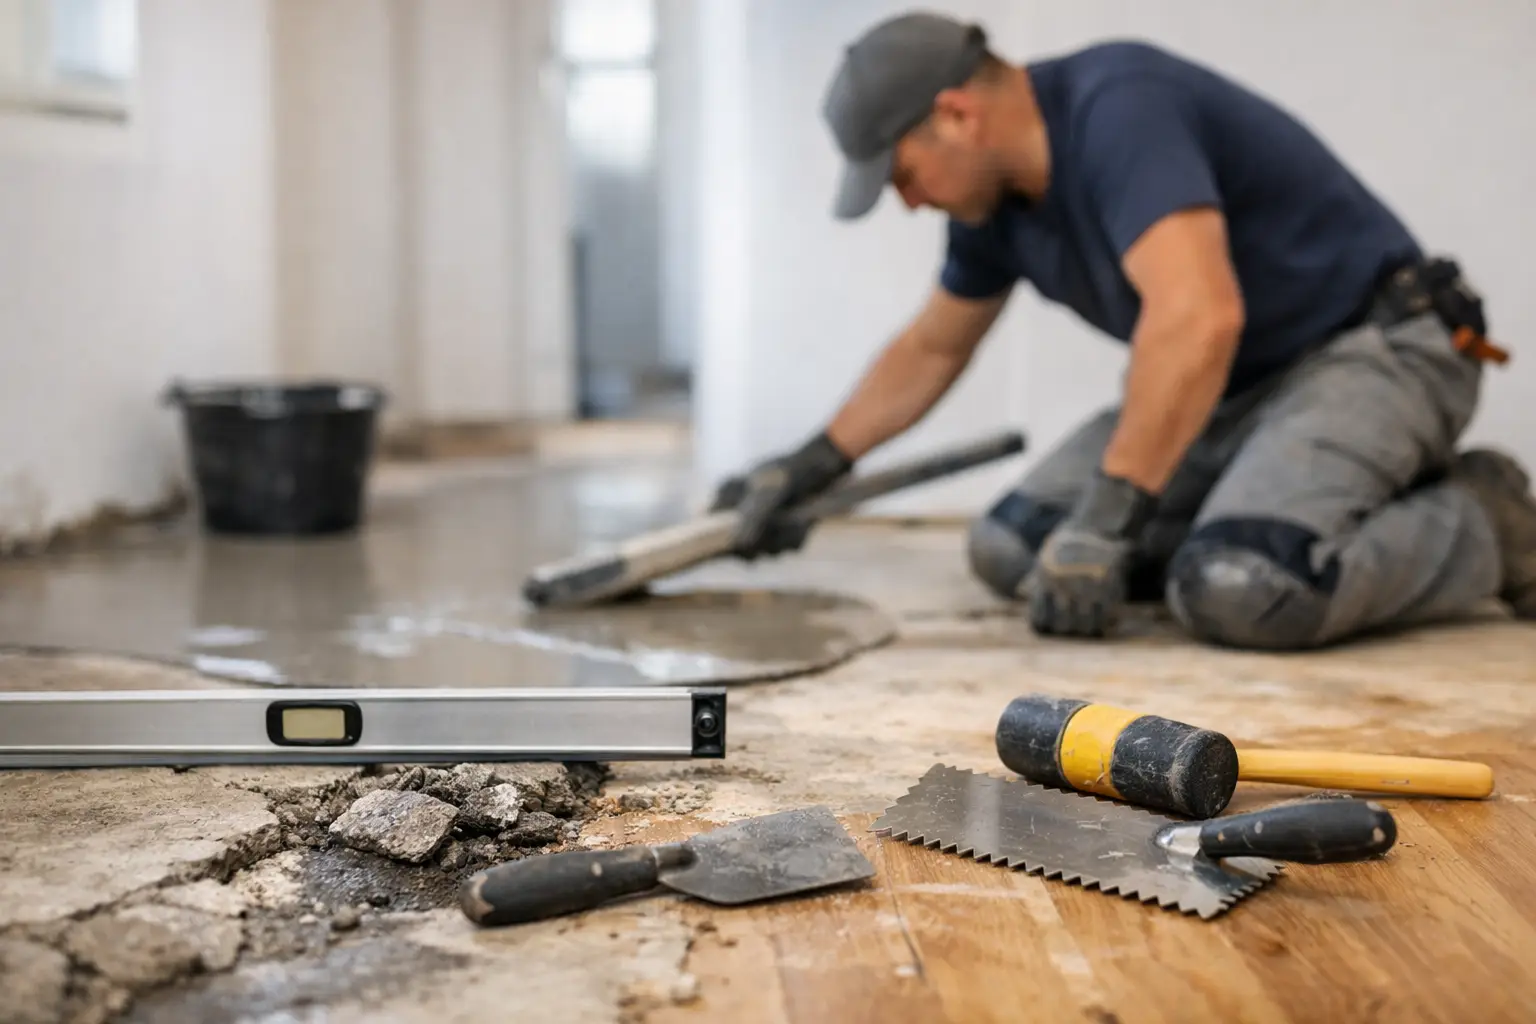
You also need to confirm the subfloor is suitable. Concrete must be dry, level and properly cured. Timber subfloors need to be stable, secure and free from movement. If there are dips, ridges or soft spots, herringbone will highlight them. In many cases, a self-levelling compound is the difference between a floor that looks premium and one that looks patchy.

Start with subfloor preparation

Good herringbone installation starts under the surface. The subfloor should be clean, dry and flat to the tolerances recommended for the product. Flat matters more than most people realise. Even a high-quality board can fail if it is laid over an uneven base.

On concrete, that usually means checking moisture levels first, then grinding high spots and filling low areas. On renovation jobs, you may also need to remove old adhesive residue, tile glue or surface contaminants that can affect bond strength. If the slab is out of level, self-levelling compound is often the cleanest fix.

On timber subfloors, look for bounce, squeaks and loose sheets. A herringbone floor needs a stable base because the pattern relies on consistent alignment across the room. Any movement underneath can lead to noise, separation or edge wear over time.

This is where a lot of DIY jobs come unstuck. The boards get the attention, but the floor underneath is what decides whether the installation lasts.

Let the flooring acclimatise

Engineered timber and other timber-based products should be acclimatised as recommended before installation. That means bringing the product into the property and allowing it to adjust to the room conditions. Melbourne homes can vary a lot in temperature and humidity, especially between seasons, so skipping this step can lead to movement after installation.

The exact time depends on the product. Some boards need longer than others. Follow the supplier guidance rather than guessing.

Set out the pattern before you lay a single board

If you want to know how to install herringbone flooring well, spend extra time on the set-out. This is what keeps the zig-zag pattern centred and balanced through the room.

Most installers start by finding the main visual line of the space. That is not always the same as the longest wall. In an open-plan area, you may want the pattern aligned with the kitchen, hallway sightline or key architectural feature. In a smaller room, centring the pattern can make the whole space feel more deliberate.

Once you have your reference line, dry-lay a small section to check the pattern, board fit and border cuts. This gives you a chance to adjust before adhesive is involved. If the cuts at the walls are going to be tiny on one side and oversized on the other, it is better to see that now than halfway through the job.

Pick the right starting point

Some herringbone floors start from the centre line and work outwards. Others start from a fixed edge if the room shape allows it. The right approach depends on the room, the product and whether there is a border feature.

A centred layout usually gives the best visual balance, but not every room is perfectly square. If the walls are out, which is common in older homes and apartments, you may need to compromise slightly so the finished floor looks right where people notice it most.

That is trade judgement more than theory. The technical answer and the practical answer are not always the same.

Install the blocks carefully and keep checking alignment

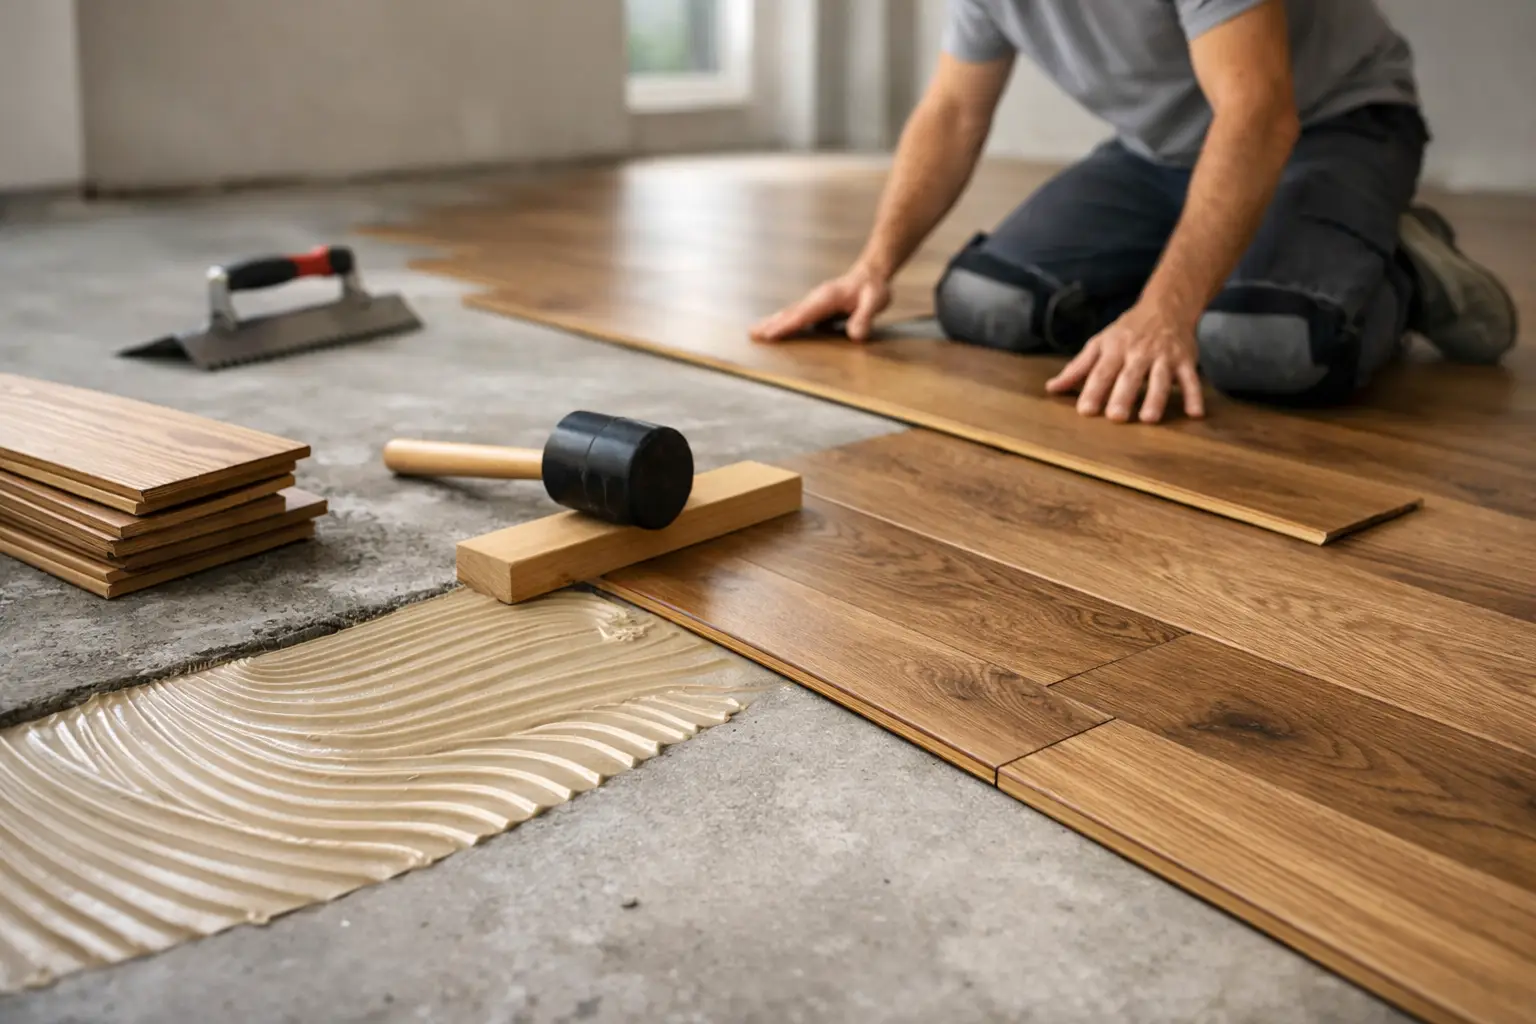
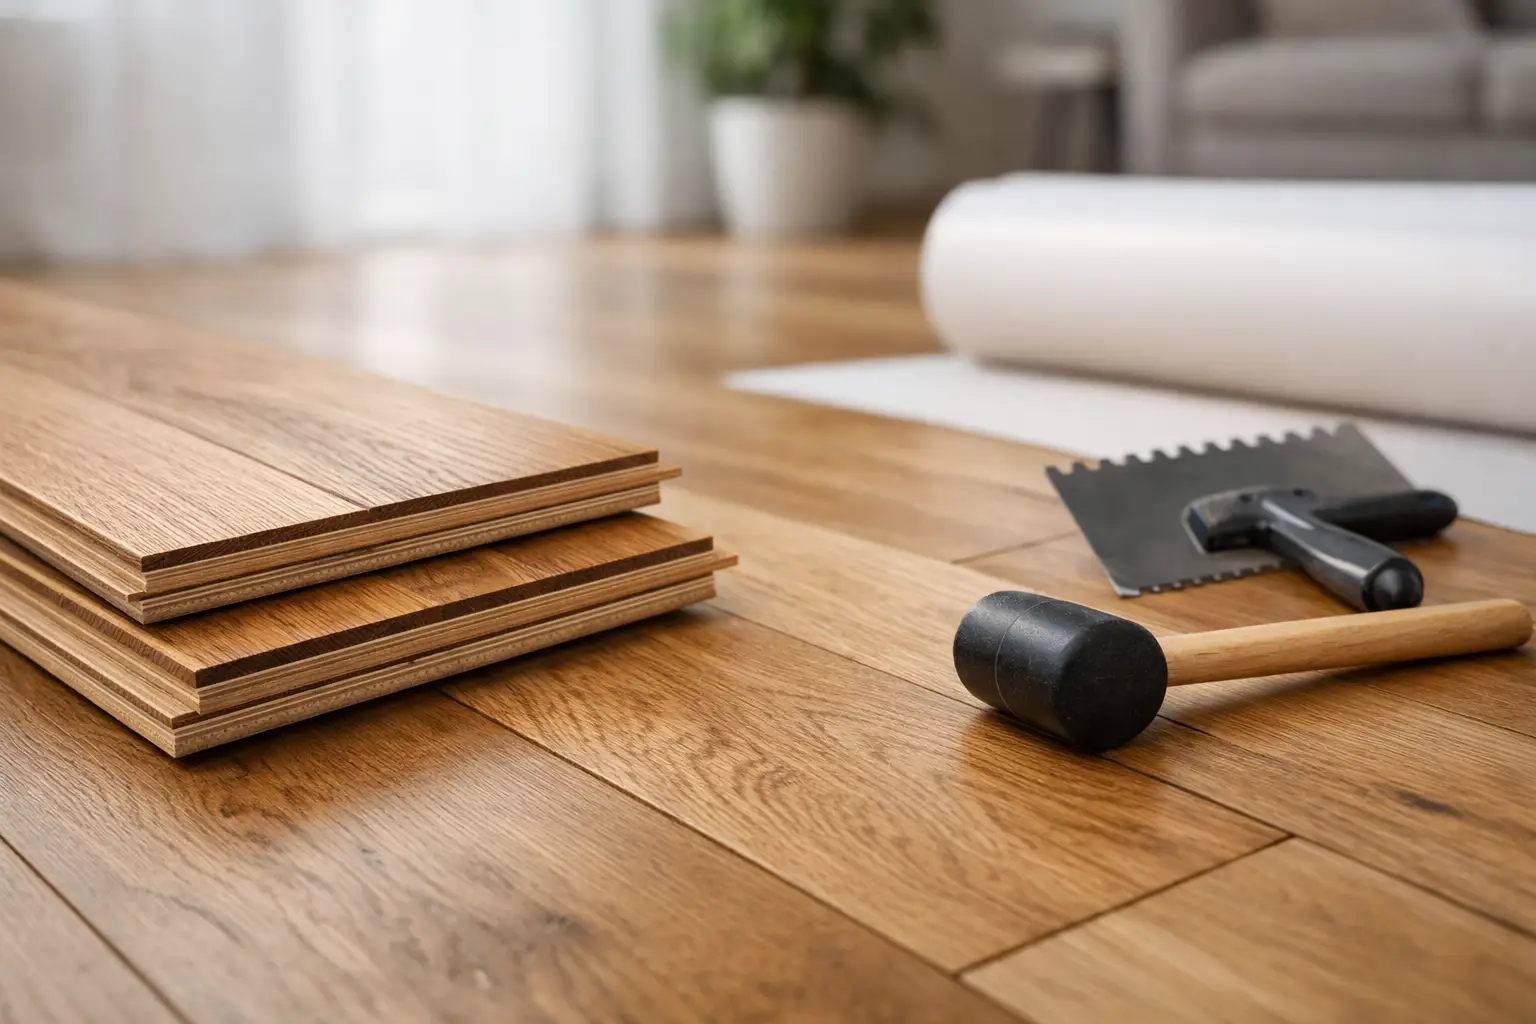
With a glue-down herringbone floor, adhesive selection and trowel use matter. Use the adhesive specified for the flooring type and substrate, and only spread as much as you can work within the open time. If the adhesive skins over, bond strength can suffer.

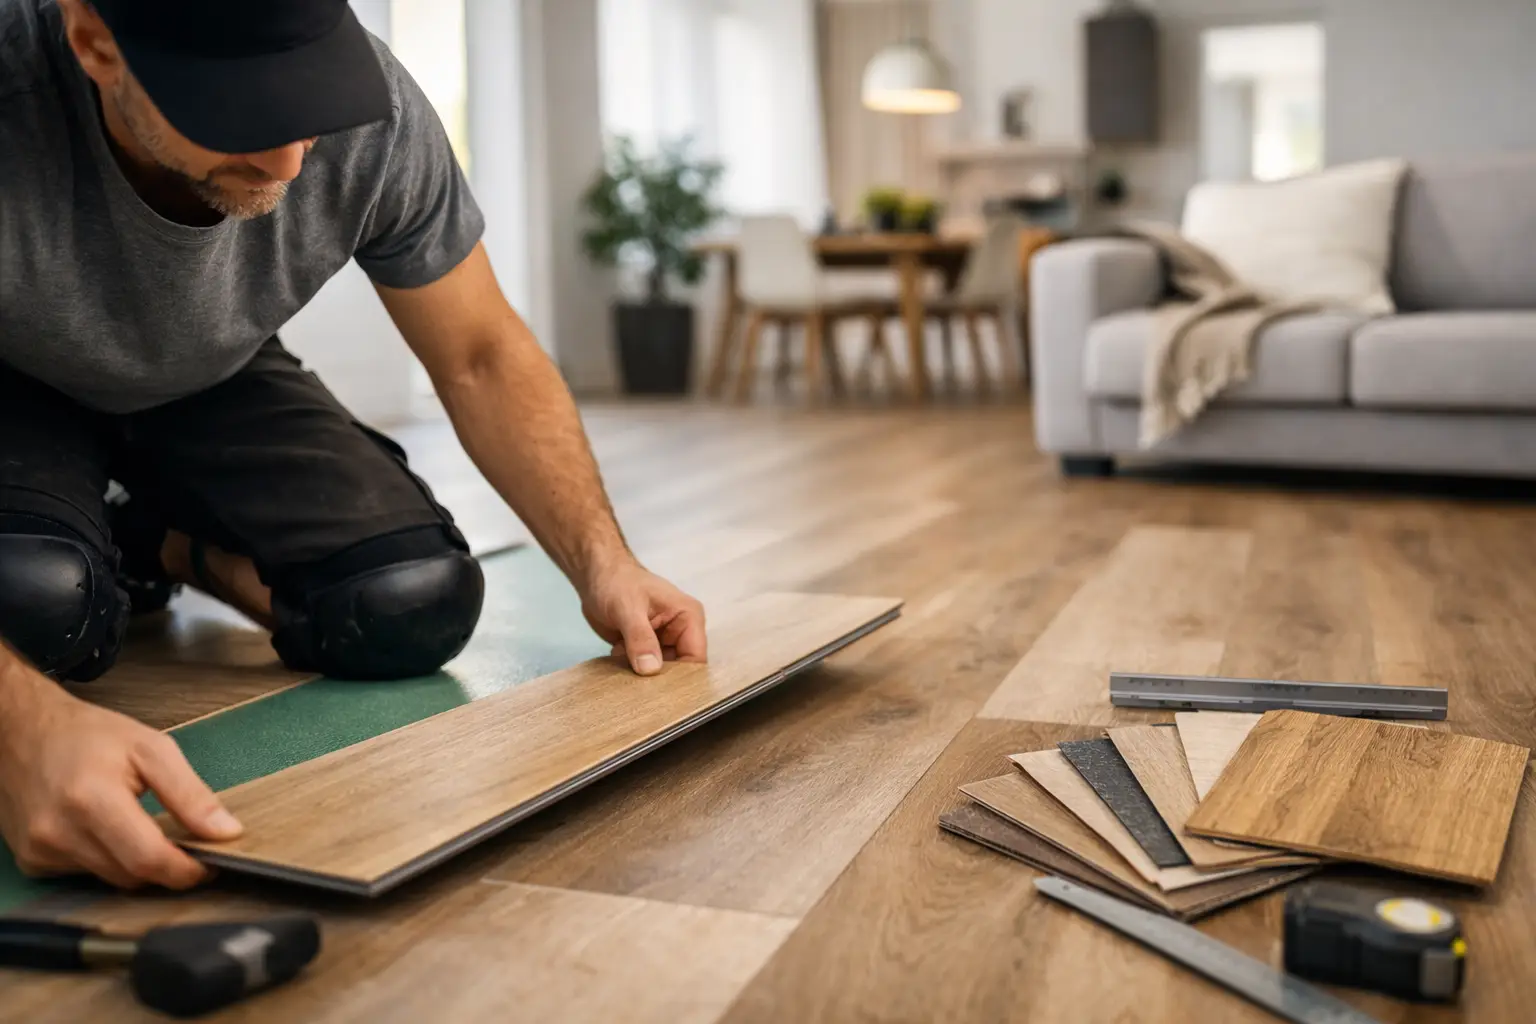
As you lay each piece, press it firmly into place and keep the tongue and groove or click system engaged correctly. Herringbone relies on repeated accuracy. One small error early on can throw the pattern off across the room.

Check the alignment often with a straight edge, string line or laser. Do not assume the pattern is tracking correctly just because the first few rows look fine. It only takes a slight drift to create wider gaps, awkward cuts or a pattern that feels skewed by the time you reach the far wall.

Keep the joins tight, clean off adhesive where needed and inspect the face of each board as you go. Natural timber-look products can vary in grain and colour, so it is worth blending boards from multiple packs for a more even finish.

Work cleanly around edges and obstacles

Door jambs, kitchen islands, fireplaces and stair edges all need careful cutting. Herringbone creates more angles than a straight lay, so there is more measuring and more room for waste if you are not precise.

Undercutting door jambs usually gives a cleaner finish than trying to scribe around them. Around fixed cabinetry or island benches, expansion requirements still apply if the product calls for them. This is another area where the installation method depends on the board type.

If the room needs a border, that adds another layer of detail. Borders can look excellent, especially in formal spaces, but they increase labour and cutting time. They are worth considering if the room suits it, but they are not essential for every home.

Finishing matters as much as the main field

Once the floor is down, the final steps still count. Allow adhesive cure time before heavy traffic or moving furniture back in. Fit trims neatly where required and make sure the transition points to other surfaces are safe and tidy.

Then inspect the floor in natural light if possible. Herringbone is a feature installation, so the quality should hold up from every angle. Look for lipping, visible adhesive, irregular spacing and pattern drift. A good installer checks these details before calling the job finished.

Common issues when installing herringbone flooring

The pattern not staying square is one of the most common problems, and it usually traces back to poor set-out. Gaps and height variation often point to subfloor issues or inconsistent fitting pressure. Loose boards can come from incorrect adhesive use, moisture problems or contamination on the substrate.

Waste is another factor people underestimate. Herringbone generally creates more offcuts than a straight plank installation, especially in smaller rooms or around lots of obstacles. That affects both product ordering and labour time. If you are budgeting the job, allow for that rather than using straight-lay assumptions.

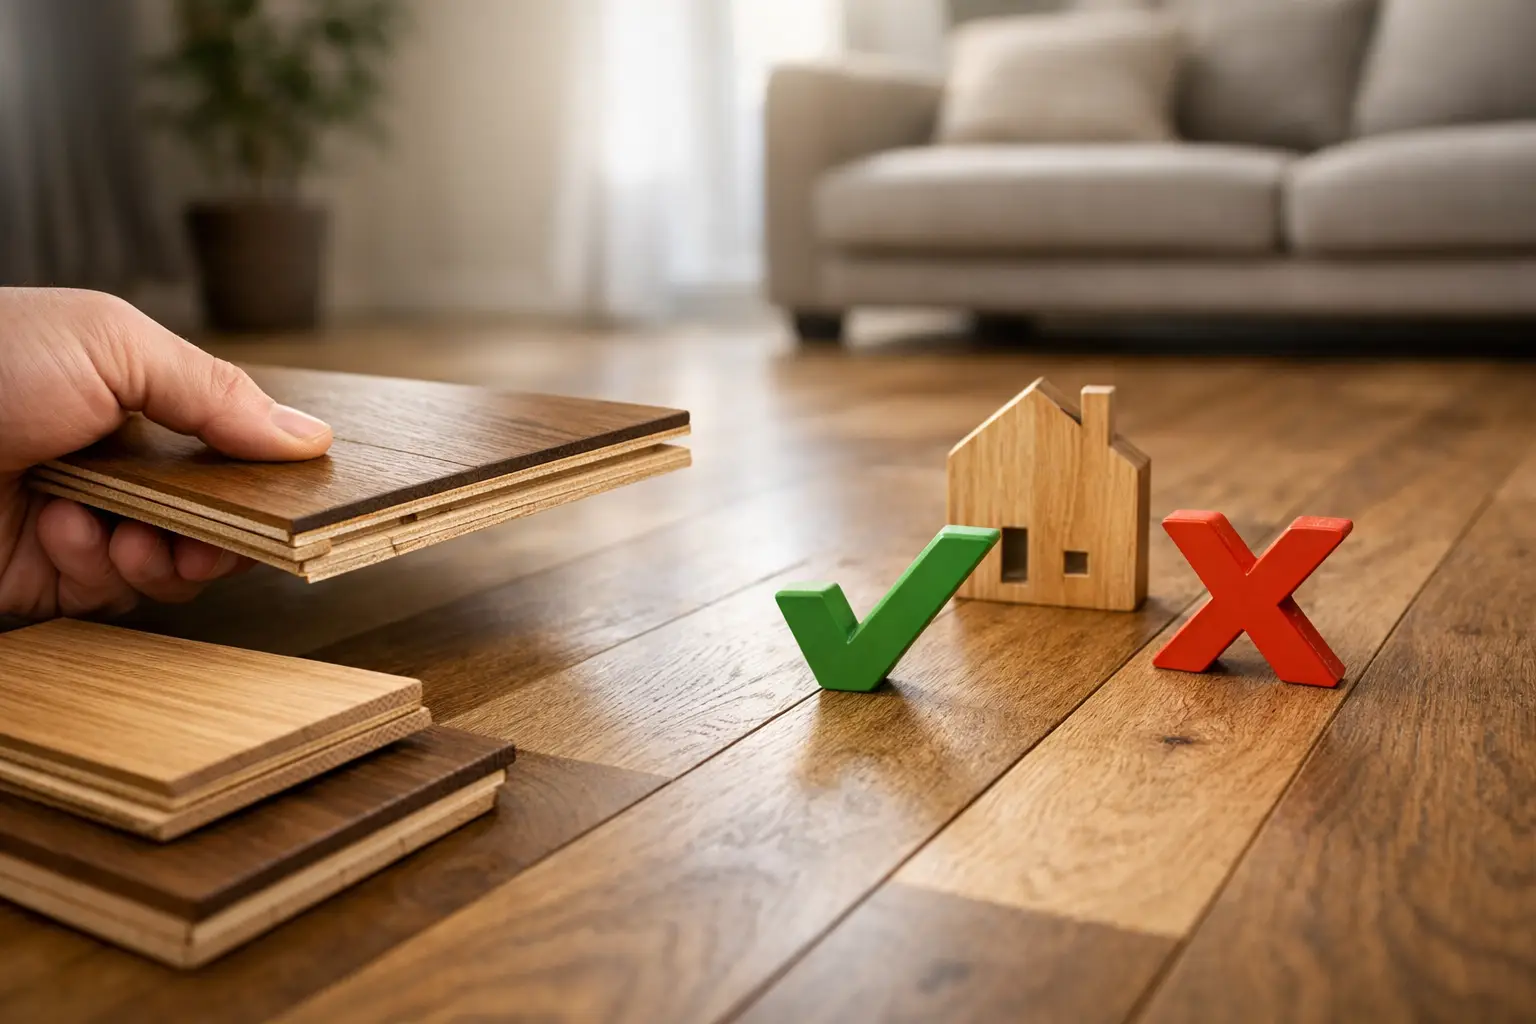
There is also the question of whether herringbone suits the property. In many homes it adds real value and visual appeal. In very tight or heavily broken-up spaces, though, the pattern can feel busy and the installation cost may outweigh the effect. Sometimes a wide engineered timber plank is the better fit. It depends on the room, the look you want and how long you plan to stay in the property.

When professional installation is the smarter option

Herringbone is one of those floors where experience shows. Not because the concept is hard to understand, but because the margin for error is smaller. Subfloor assessment, moisture testing, levelling, layout planning and clean finishing all need to line up.

That is why many clients choose professional installation rather than treating herringbone like a standard flooring job. At Melbourne Quality Timber Flooring, the difference is practical knowledge from people who have actually installed these products, not just sold them in a showroom. That matters when a slab needs correction, a layout needs adjusting, or a product is not the right match for the site.

If you are weighing up a herringbone floor, focus less on whether the pattern looks good in a sample board and more on whether the room, subfloor and installation method will do it justice. The best herringbone floors are not just stylish. They are properly prepared, accurately laid and built to stay that way.
Related Blog

Best Flooring for Melbourne Weather Conditions

Best Flooring for Melbourne Weather Conditions

Choosing flooring for Melbourne means planning for changing weather as much as choosing a style...

How Much Does Timber Flooring Cost in Melbourne?

How Much Does Timber Flooring Cost in Melbourne?

Timber flooring remains one of the most sought-after flooring choices for Melbourne homes because it...

Engineered Timber vs Hybrid Flooring: Which Is Better for Melbourne Homes?

Engineered Timber vs Hybrid Flooring: Which Is Better for Melbourne Homes?

Choosing between engineered timber and hybrid flooring is one of the most common decisions Melbourne...

Hybrid Flooring vs Laminate Flooring Comparison

Hybrid Flooring vs Laminate Flooring Comparison

Hybrid and laminate flooring look nearly identical on display in a showroom. Both come in...

Free Flooring Quote Melbourne - What to Expect

Free Flooring Quote Melbourne – What to Expect

A free flooring quote Melbourne homeowners can actually use should do more than throw out...

Herringbone Flooring Guide for Smarter Choices

Herringbone Flooring Guide for Smarter Choices

A herringbone floor can make an ordinary room look properly finished, but it also exposes...

How to Level a Subfloor Properly

How to Level a Subfloor Properly

A new floor can look premium in the box and still fail on site if...

Can Hybrid Flooring Go Over Tiles?

Can Hybrid Flooring Go Over Tiles?

Can hybrid flooring go over tiles? In many cases, yes. Existing tiles can provide a...

Engineered Timber vs Laminate Floors

Engineered Timber vs Laminate Floors

Choosing between engineered timber and laminate flooring comes down to budget, appearance, durability, and long-term...

Subfloor Levelling Services Melbourne

Subfloor Levelling Services Melbourne

Proper subfloor levelling is essential before any new flooring is installed. An uneven base causes...

Hybrid Flooring vs Vinyl: Which Suits You?

Hybrid Flooring vs Vinyl: Which Suits You?

You usually notice the difference between hybrid and vinyl flooring after it has been installed,...

Is Hybrid Flooring Waterproof or Water Resistant?

Is Hybrid Flooring Waterproof or Water Resistant?

A lot of flooring problems start with one simple assumption. Someone hears that hybrid is...

Hybrid Flooring Services That Get It Right

Hybrid Flooring Services That Get It Right

A hybrid floor can look outstanding on day one and still disappoint six months later...

Best Flooring for Apartments in 2026

Best Flooring for Apartments in 2026

An apartment floor has to do more than look good. It needs to handle daily...

Subfloor Levelling Before Flooring Matters

Subfloor Levelling Before Flooring Matters

A floor can look premium in the showroom and still fail in the home if...

Flooring Installation Melbourne Done Properly

Flooring Installation Melbourne Done Properly

A floor can look perfect in a showroom and still fail in your home. That...

How to Choose Hybrid Flooring Properly

How to Choose Hybrid Flooring Properly

The fastest way to waste money on new floors is to choose by sample board...

How to Choose Timber Flooring

How to Choose Timber Flooring

You can usually spot a flooring mistake within five seconds of walking into a room....

How to Prepare Uneven Subfloor Properly

How to Prepare Uneven Subfloor Properly

A floor can look premium in the showroom and still fail in a home or...

Hybrid Flooring Melbourne Homeowners Trust

Hybrid Flooring Melbourne Homeowners Trust

A floor can look perfect in a showroom and still be the wrong choice for...

Timber Flooring Melbourne Homeowners Trust

Timber Flooring Melbourne Homeowners Trust

A floor can look perfect in a showroom and still fail in a real Melbourne...

Hybrid Flooring Disadvantages Explained

Hybrid Flooring Disadvantages Explained

You usually hear about hybrid flooring when someone wants the look of timber without the...

Hybrid Flooring Explained for Melbourne Homes

Hybrid Flooring Explained for Melbourne Homes

You do not usually notice a floor until it starts causing problems. Boards move, joins...

How to Repair Engineered Timber Flooring

How to Repair Engineered Timber Flooring

A scratched board near the kitchen, a chipped edge by the hallway, or a section...

How to Clean Engineered Hardwood Flooring

How to Clean Engineered Hardwood Flooring

A lot of engineered timber floors get blamed for problems that actually come down to...

How to Acclimate Engineered Hardwood Flooring

How to Acclimate Engineered Hardwood Flooring

A floor can look perfect on delivery day and still fail a few weeks after...

How to Install Engineered Hardwood Flooring on Concrete

How to Install Engineered Hardwood Flooring on Concrete

Concrete catches people out. It looks flat, solid and ready to go, but it is...

How Thick Is Engineered Timber Flooring?

How Thick Is Engineered Timber Flooring?

You can spot a flooring quote that skips the important details a mile away. A...
Why Choose Engineered Hardwood Flooring?

Why Choose Engineered Hardwood Flooring?

A floor can look perfect in a showroom and still be the wrong choice once...

What Is Engineered Hardwood Flooring Pros and Cons?

What Is Engineered Hardwood Flooring Pros and Cons?

A lot of flooring problems start before anyone lays a single board. The wrong product...

What Is Engineered Hardwood Flooring vs Laminate?

What Is Engineered Hardwood Flooring vs Laminate?

You can usually tell when someone has been talked into the wrong floor. They come...

What Is Engineered Timber Flooring?

What Is Engineered Timber Flooring?

If you have been comparing flooring options and keep circling back to timber, chances are...

Best Engineered Timber Flooring Australia

Best Engineered Timber Flooring Australia

A lot of people start by asking for the best engineered timber flooring Australia has...

Engineered Timber Flooring Prices Explained

Engineered Timber Flooring Prices Explained

The gap between a cheap floor and a floor that still looks good in ten...

Engineered Timber Flooring vs Hybrid

Engineered Timber Flooring vs Hybrid

You can spot the wrong flooring choice months after install - boards sounding hollow underfoot,...

Laminate Flooring Experts

How to Choose the Right Flooring for Your Melbourne Home

Choosing new flooring is one of the bigger decisions you'll make in a home renovation.Get...

Shopping centre entry in Hawthorn with direct stick engineered flooring installation by Melbourne QTF

Flooring For Rental Properties Melbourne

If you own a rental property in Melbourne, flooring is one of the most importantdecisions...

Hybrid Flooring Melbourne

Engineered Timber vs Hybrid Flooring: Which Is Right for Your Melbourne Home?

If you've started researching new flooring for your Melbourne home, chances are you'vecome across two...

Hybrid Flooring Melbourne

Herringbone Flooring Melbourne: The Complete Guide to Pattern, Style & Installation

Herringbone flooring has made a serious comeback — and it's not hard to see why....

Hybrid Flooring Melbourne

Why Choose Hybrid Flooring?

When it comes to selecting the right flooring for your Melbourne home, hybrid floors have...

Flooring Melbourne

How to Clean Your Floors (Laminate, Hybrid & Engineered Timber)

Keeping your floors clean doesn't just make your home look fresh—it also protects them from...

Engineered Flooring Melbourne

Engineered Flooring: The Complete Guide for Your Home

What Is Engineered Flooring? Engineered flooring is a type of wood flooring designed to replicate...

Laminate Flooring Melbourne

Why Choose Laminate Flooring for Your Home or Business

When it comes to selecting the perfect flooring, homeowners and business owners alike want something...

See Why Our Clients Trust Us
Real Stories, Real Success!

Google Review

Timber Flooring Melbourne — Frequently Asked Questions

How much does timber flooring cost in Melbourne?

The cost of timber flooring in Melbourne depends on the type of flooring you choose. As a general guide:

  • Laminate flooring: $20–$50 per m² for materials, plus $18–$30 per m² for installation
  • Hybrid flooring: $30–$50 per m² for materials, plus $18–$30 per m² for installation
  • Engineered timber: $70–$130 per m² for materials, plus $40–$70 per m² for installation

Additional costs such as subfloor levelling, carpet removal, and skirting board replacement may apply. We offer free on-site measures and quotes — contact Melbourne QTF today for an accurate estimate tailored to your project.
Both are popular choices, but they suit different needs:

Engineered timber features a real hardwood veneer bonded over a plywood core. It looks and feels like solid timber but is more dimensionally stable, meaning it handles Melbourne’s temperature and humidity fluctuations better. It can be sanded and refinished once or twice, extending its lifespan significantly.

Hybrid flooring is a fully synthetic product combining a rigid stone-plastic composite core with a vinyl wear layer. It is 100% waterproof, highly scratch resistant, and ideal for households with pets, children, or wet-prone areas like kitchens and laundries.

Not sure which is right for you? Our team are former installers who can walk you through the best option for your home and budget.

Yes — in most cases, both engineered timber and hybrid flooring can be installed directly over existing tiles or concrete slabs. The key requirement is that the subfloor is flat, clean, and structurally sound.

Where subfloors are uneven, we use Cemimax self-levelling compound to create a perfectly flat surface before installation. This step is critical for long-lasting results and is something many cheaper operators skip.

Our team will inspect your subfloor during the free measure and recommend the correct preparation method for your specific situation.

For busy households with pets or children, we recommend hybrid flooring as the top choice. Here’s why:

  • 100% waterproof — spills and accidents wipe up with no damage
  • Highly scratch and dent resistant wear layer
  • Easy to clean with a damp mop
  • Built-in underlay for comfort underfoot and noise reduction

Laminate flooring is another excellent budget-friendly option with strong scratch resistance, though it is not fully waterproof. For a more premium look, some of our engineered timber ranges also offer enhanced coatings suited to active family homes.

Come into our Ravenhall showroom or book a free consultation and we’ll help you find the perfect match.

Floating installation means the boards click together and sit over an underlay without being fixed to the subfloor. It is faster to install, easier to replace individual boards if damaged, and is the standard method for hybrid and laminate flooring.

Glue-down installation involves adhering each board directly to the subfloor using a flexible flooring adhesive. It is the preferred method for engineered timber, particularly in high-traffic areas or when installing over concrete. It produces a more solid, stable feel underfoot with less movement and noise.

Our team will recommend the right method based on your subfloor type, the flooring product you select, and your budget. Both methods are available across our full product range.

Keeping your new floor looking great is straightforward with a few simple habits:

  • Sweep or vacuum regularly to remove dust and grit that can scratch the surface
  • Wipe up spills immediately, especially on laminate which is not fully waterproof
  • Use a barely damp mop with a pH-neutral timber floor cleaner for deeper cleaning
  • Place felt pads under furniture legs to prevent scratching
  • Use a doormat at entrances to reduce the amount of dirt and grit tracked in
  • Avoid steam mops — the heat and moisture can damage both the boards and adhesive

Engineered timber floors can be lightly sanded and recoated if they develop surface scratches over time, giving them a renewed look. Hybrid and laminate boards are not refinishable but are highly resistant to everyday wear.

Yes — absolutely. We offer free on-site measures and obligation-free quotes for all flooring projects across Melbourne. One of our team will visit your property, assess your subfloor, discuss your flooring options, and provide a detailed written quote with no pressure and no hidden costs.

You can also send us your floor plan by email if you’d like a ballpark figure before we visit. Contact us today on 03 8352 0641 or fill in the form on our contact page to get started.

We service all Melbourne suburbs. Based in Ravenhall in Melbourne’s west, we specialise in the western corridor including Hoppers Crossing, Caroline Springs, Deer Park, St Albans, Sunshine North, Werribee, Tarneit, Point Cook, Cairnlea, and Albion.

We also regularly install flooring across Melbourne’s inner-city and eastern suburbs including South Yarra, Toorak, Hawthorn, Kew, Camberwell, Brighton, and Melbourne CBD.

No job is too far — get in touch and we’ll confirm coverage for your area.

    This site is protected by reCAPTCHA and the Google Privacy Policy and Terms of Service apply.

    Get in Touch

    Located in Ravenhall, Melbourne QTF provides premium timber flooring Melbourne-wide, specialising in the western suburbs including Hoppers Crossing, Caroline Springs, Avondale Heights, Cairnlea, Deer Park, Albion, Sunshine North, St Albans, and Werribee.

    We also service inner-city and eastern suburbs including Melbourne CBD, South Yarra, Toorak, Hawthorn, Kew, Camberwell, and Brighton, delivering high-quality timber flooring in Melbourne to homes and businesses across the city.

    To learn more about our timber flooring products or to discuss your project, contact our team today or visit our Ravenhall showroom.

    Opening Hours

    Monday - Friday 9am - 5pm

    Scroll to top