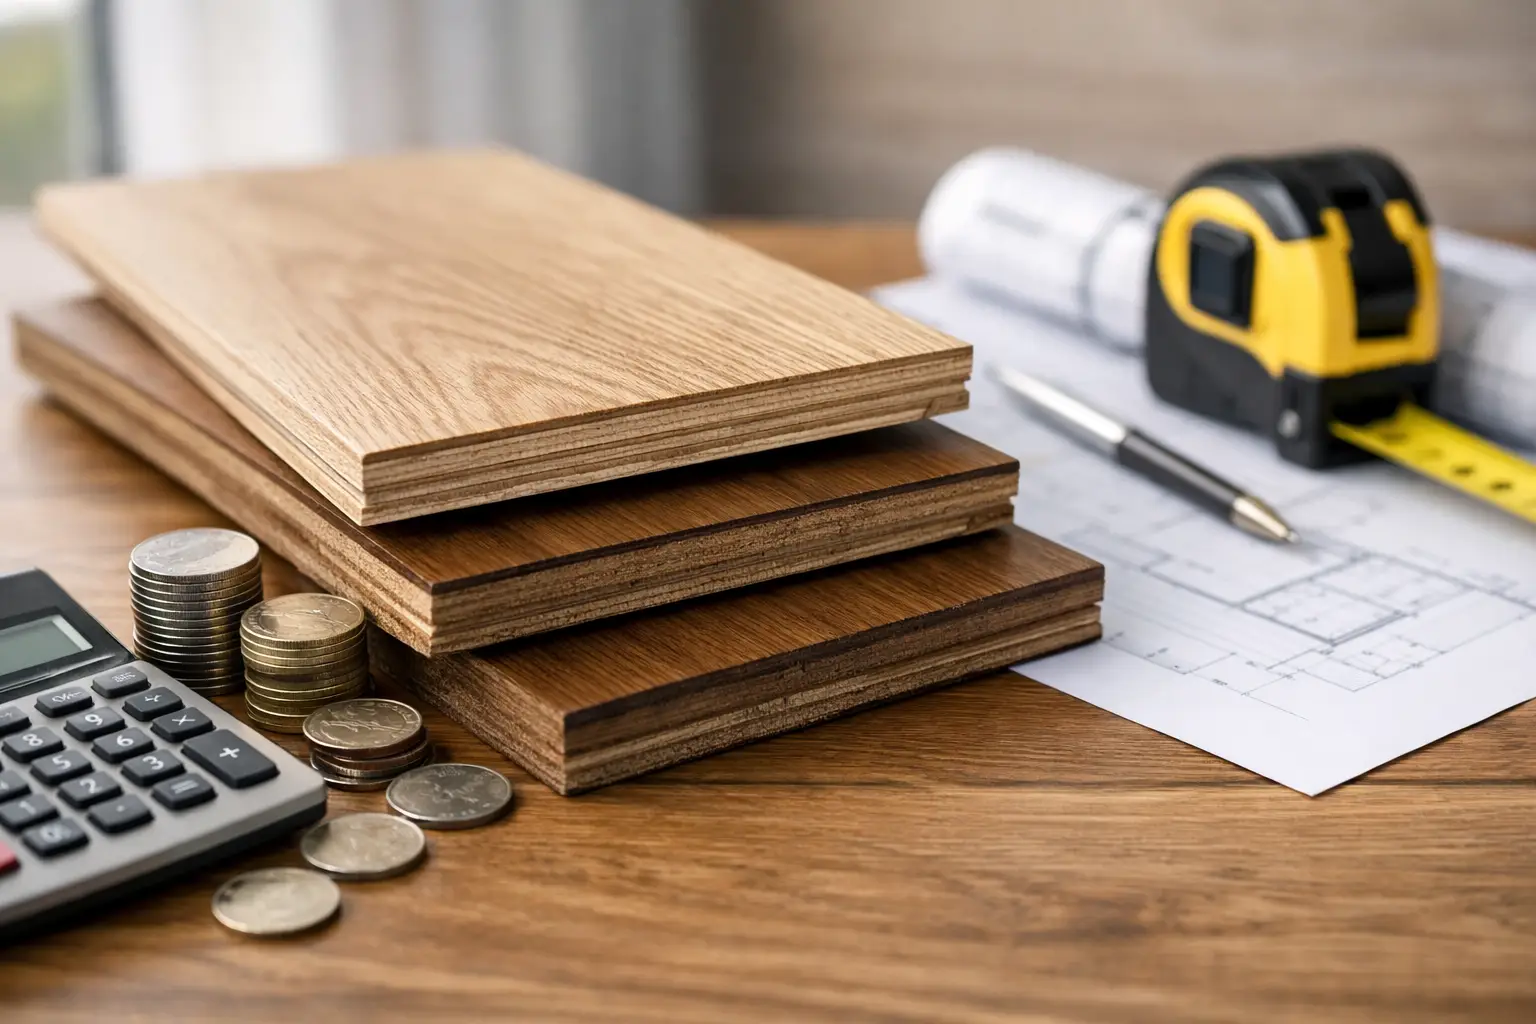
A floor can look premium in the showroom and still fail in a home or commercial space if the base underneath is wrong. If you are asking how to prepare uneven subfloor before installing engineered timber, hybrid or laminate flooring, the short answer is this: don’t guess, and don’t skip the prep. Small height differences, dips, ridges and weak patches can lead to movement, hollow spots, peaking joints and wear that shows up much earlier than it should.
Subfloor preparation is where a long-lasting installation really starts. It is also the part many people underestimate because the problems are often hidden until the new floor is down. By then, fixing it is slower, more expensive and a lot more frustrating.
Table of Contents
Why uneven subfloors cause real problems
Most floating and fixed flooring products are made to work within specific subfloor tolerances. That means the base needs to be flat enough, sound enough and dry enough for the product to perform as intended. Flat does not always mean perfectly level, but it does mean there should not be abrupt highs and lows across the surface.
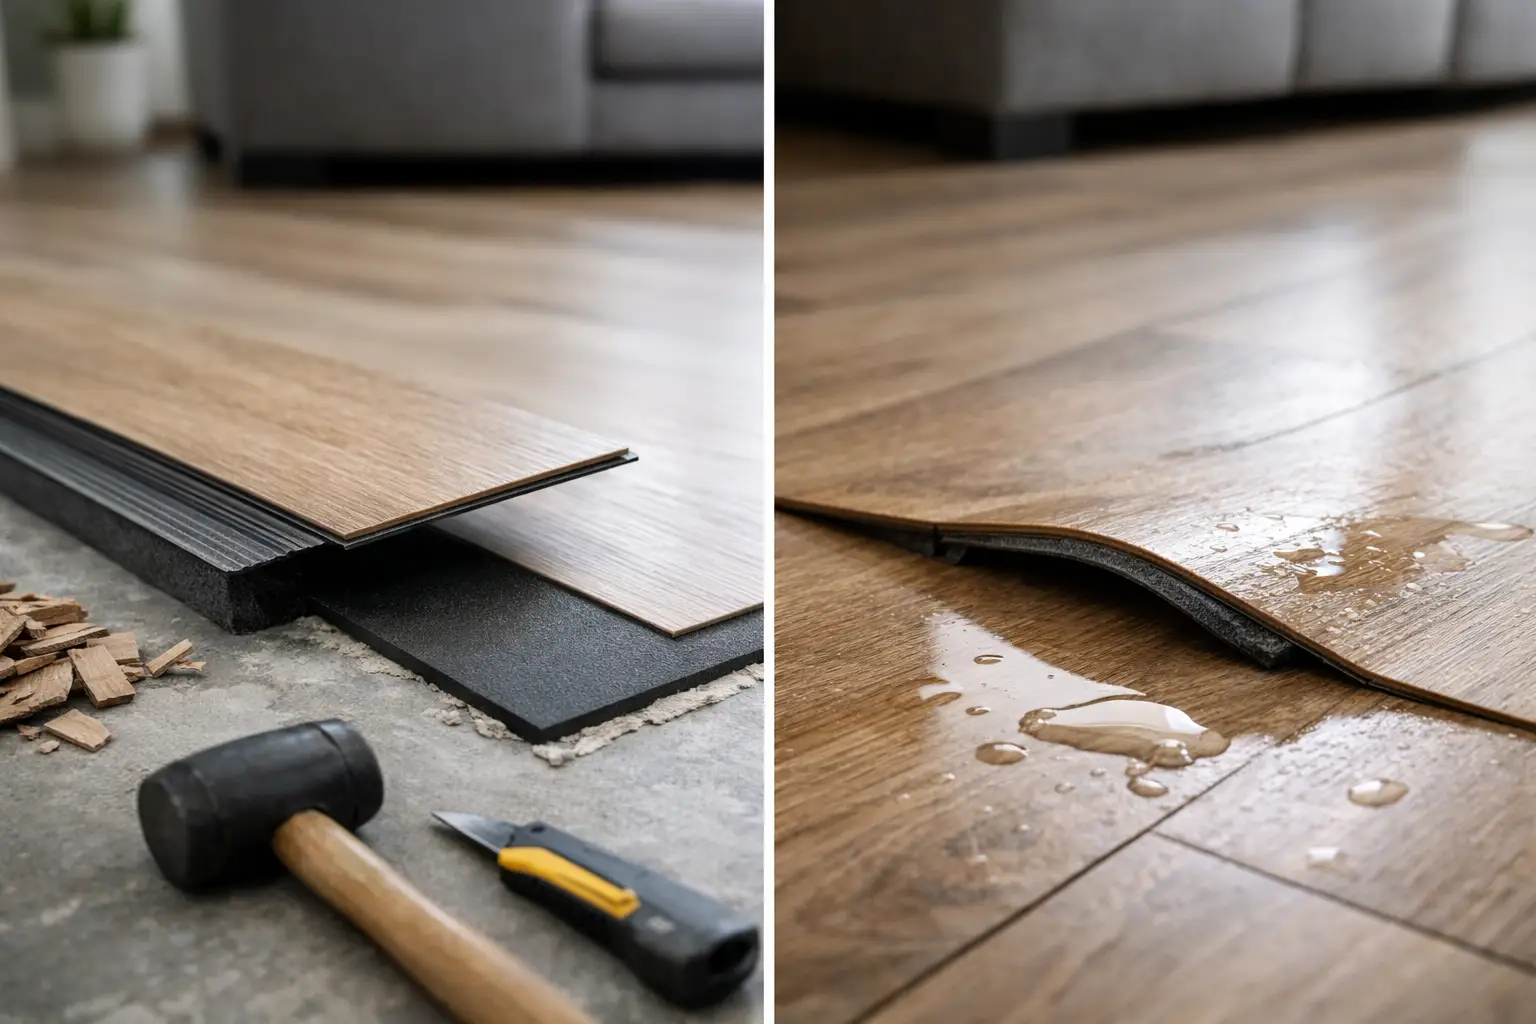
When the subfloor is uneven, the flooring above it has to bridge gaps or sit on pressure points. In practical terms, that can create bounce underfoot, creaking, cracked locking systems and boards that don’t sit tightly together. With timber-based products, poor prep can also make natural seasonal movement harder to manage.
For homeowners, the issue usually shows up as noise, visible irregularity or a floor that simply doesn’t feel solid. For builders and commercial clients, it can turn into a defect call-back that should have been prevented on day one.
How to prepare uneven subfloor: start with the right assessment
Before anyone reaches for levelling compound or a grinder, the first job is to understand what type of subfloor you are dealing with. Concrete and timber subfloors behave differently, and the preparation method needs to match.
On a concrete slab, unevenness might come from poor finishing, settlement, old adhesive build-up, cracking or patched areas from previous renovations. On a timber subfloor, the cause could be bowed joists, loose sheet flooring, water damage or simple age-related movement.
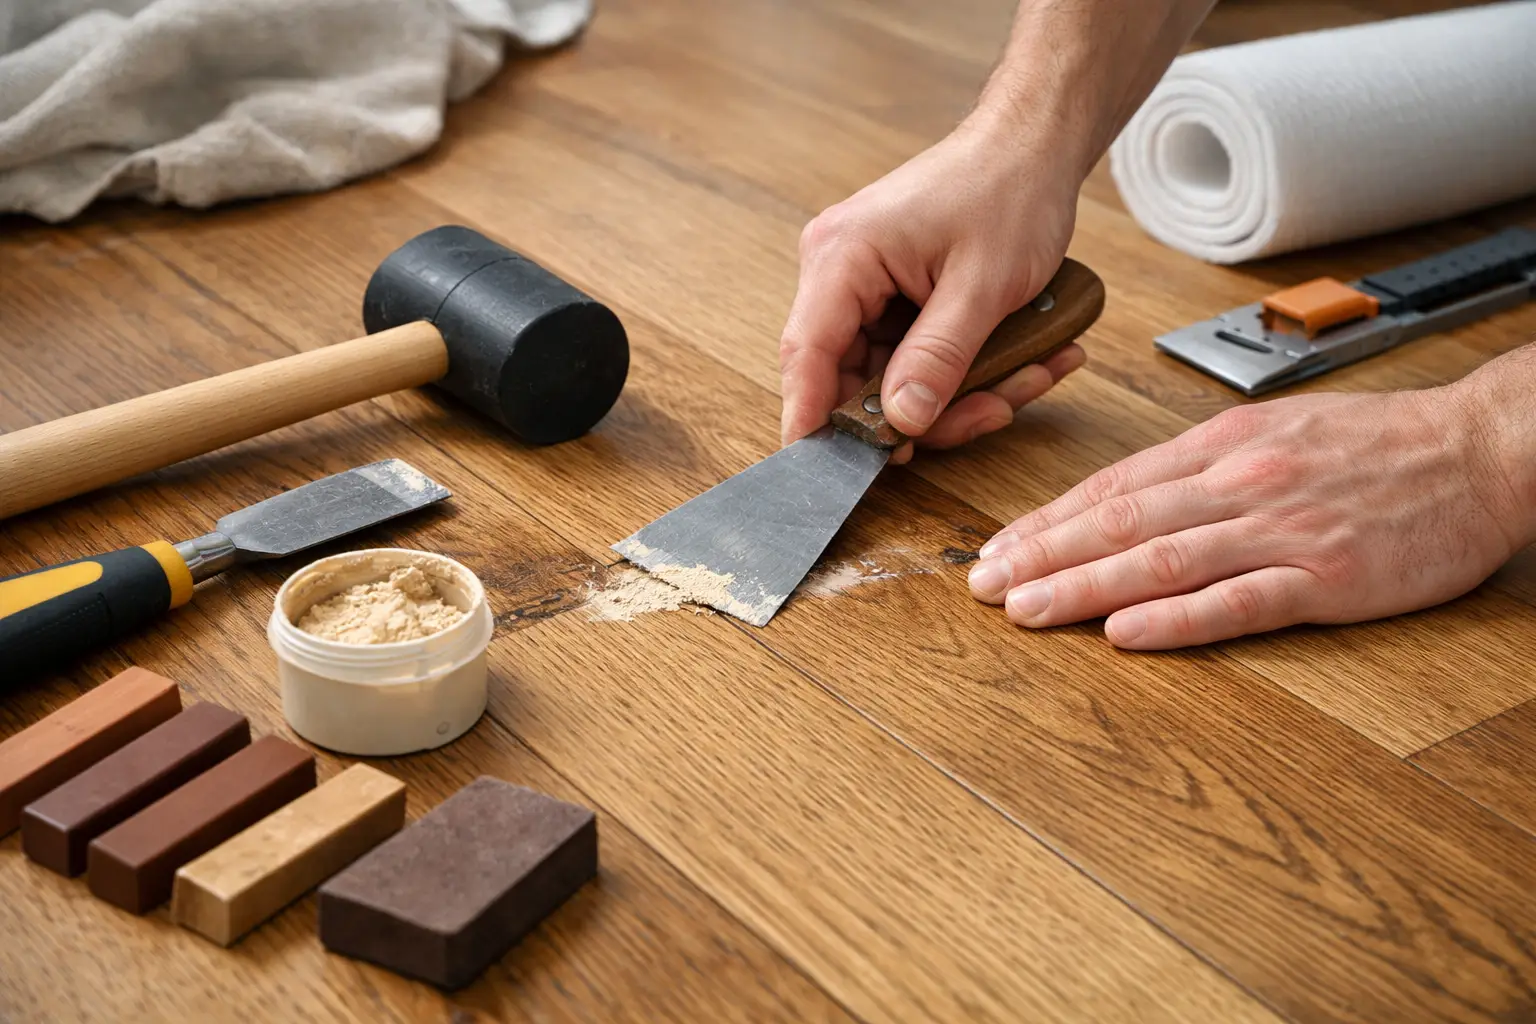
This is also where trade experience matters. A floor that looks only slightly out can still be outside product tolerance when checked properly with a straightedge. Good installers don’t rely on a quick visual check. They measure the highs and lows, identify soft spots, and look at moisture and structural condition at the same time.
If the issue is structural, levelling over the top is not a real solution. You need to fix the cause first.
Check flatness, not just level
Many people confuse level with flat, but flooring products care more about flatness. A room can slope slightly and still be suitable if the surface is consistently flat. What causes trouble is sudden variation across short distances.
Using a long straightedge helps show where the ridges and dips are. This step tells you whether the floor needs grinding, filling or full levelling. It also helps determine whether the chosen flooring product is still suitable, because some boards are more forgiving than others.
Check moisture before any prep begins
Moisture testing is not optional, especially on concrete. A beautifully levelled slab that still has excess moisture can damage timber-based flooring, affect adhesives and cause long-term issues that levelling alone will not solve.
In Melbourne properties, ground-floor slabs, older homes and renovation sites can all present moisture risks. Any preparation plan should consider both flatness and moisture together rather than treating them as separate jobs.
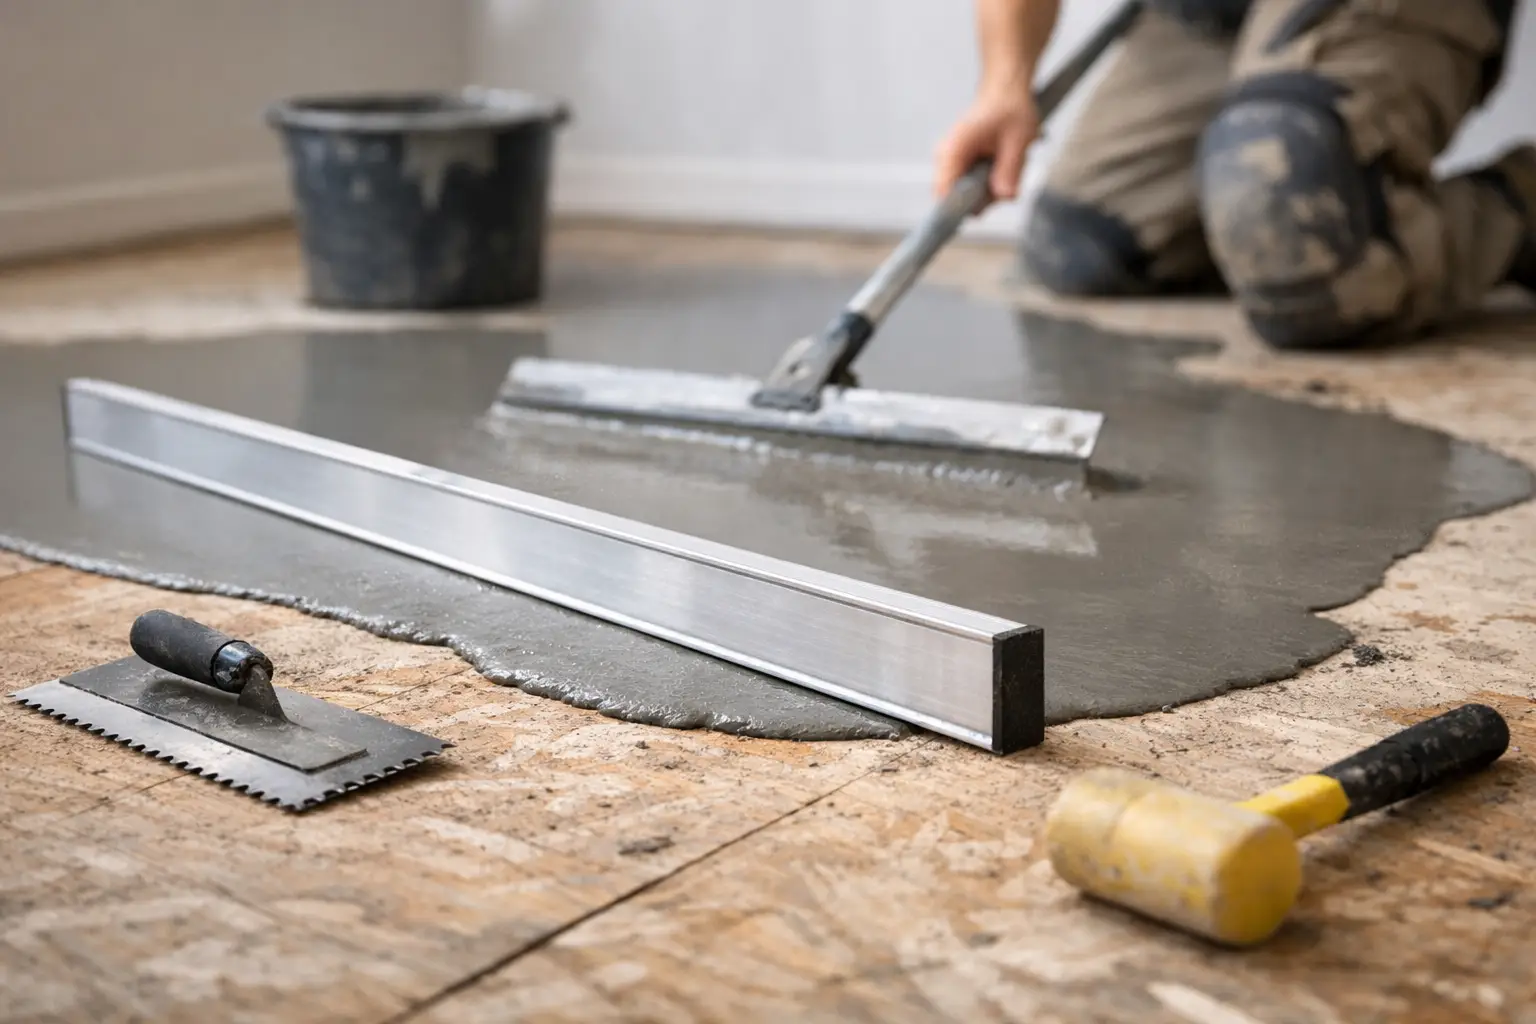
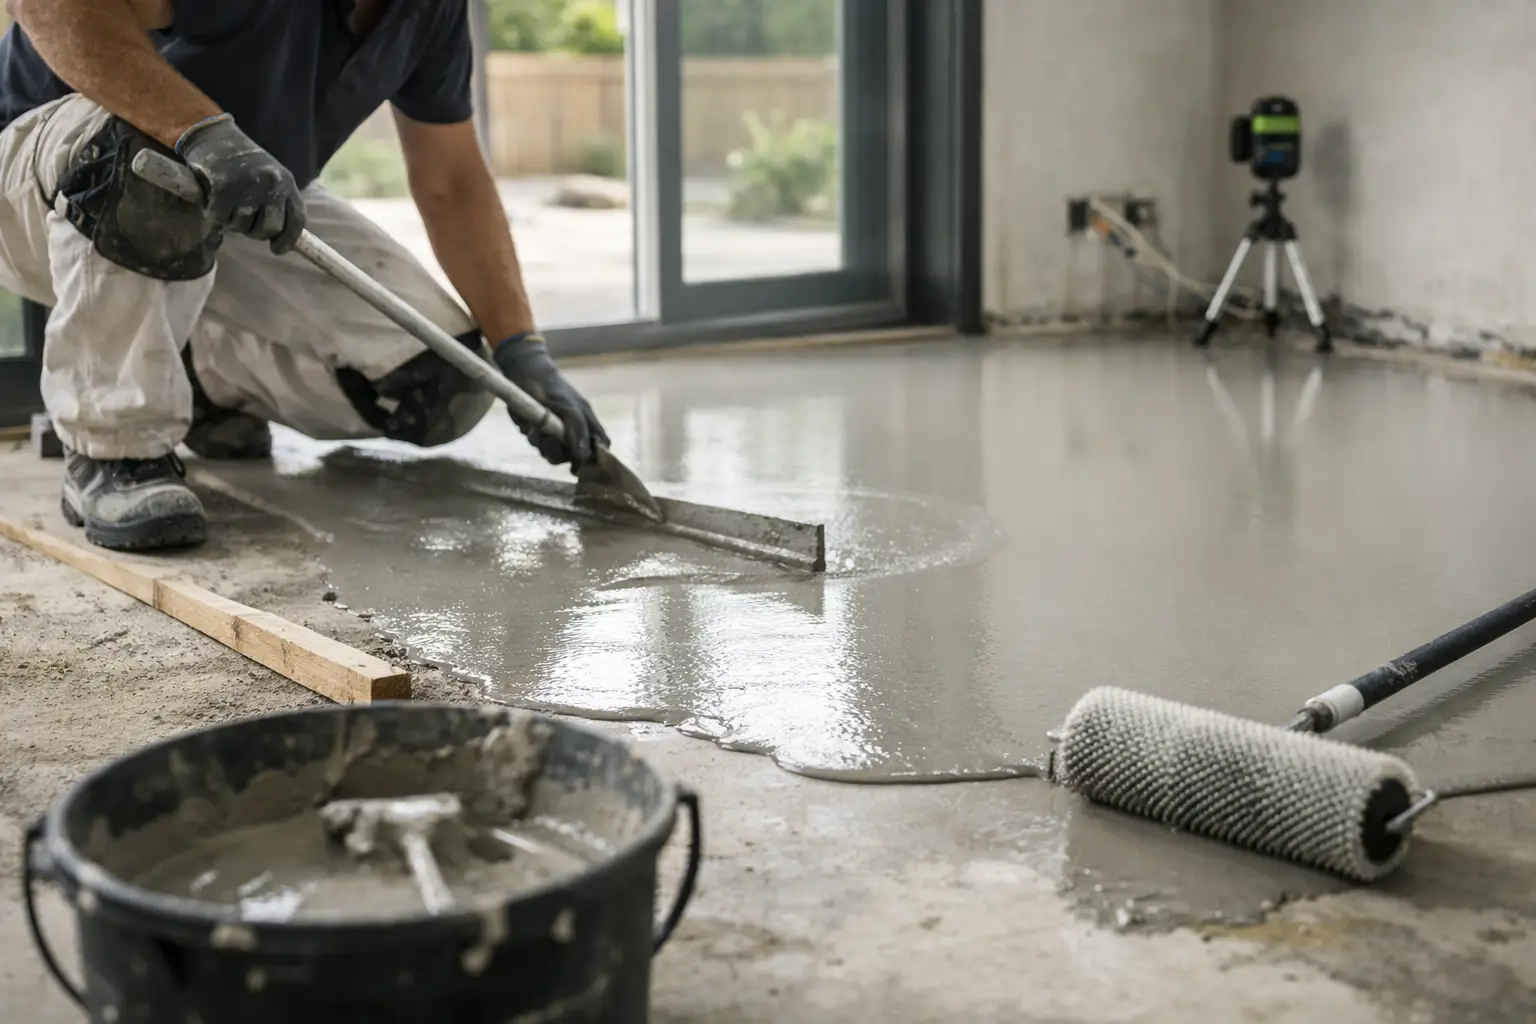
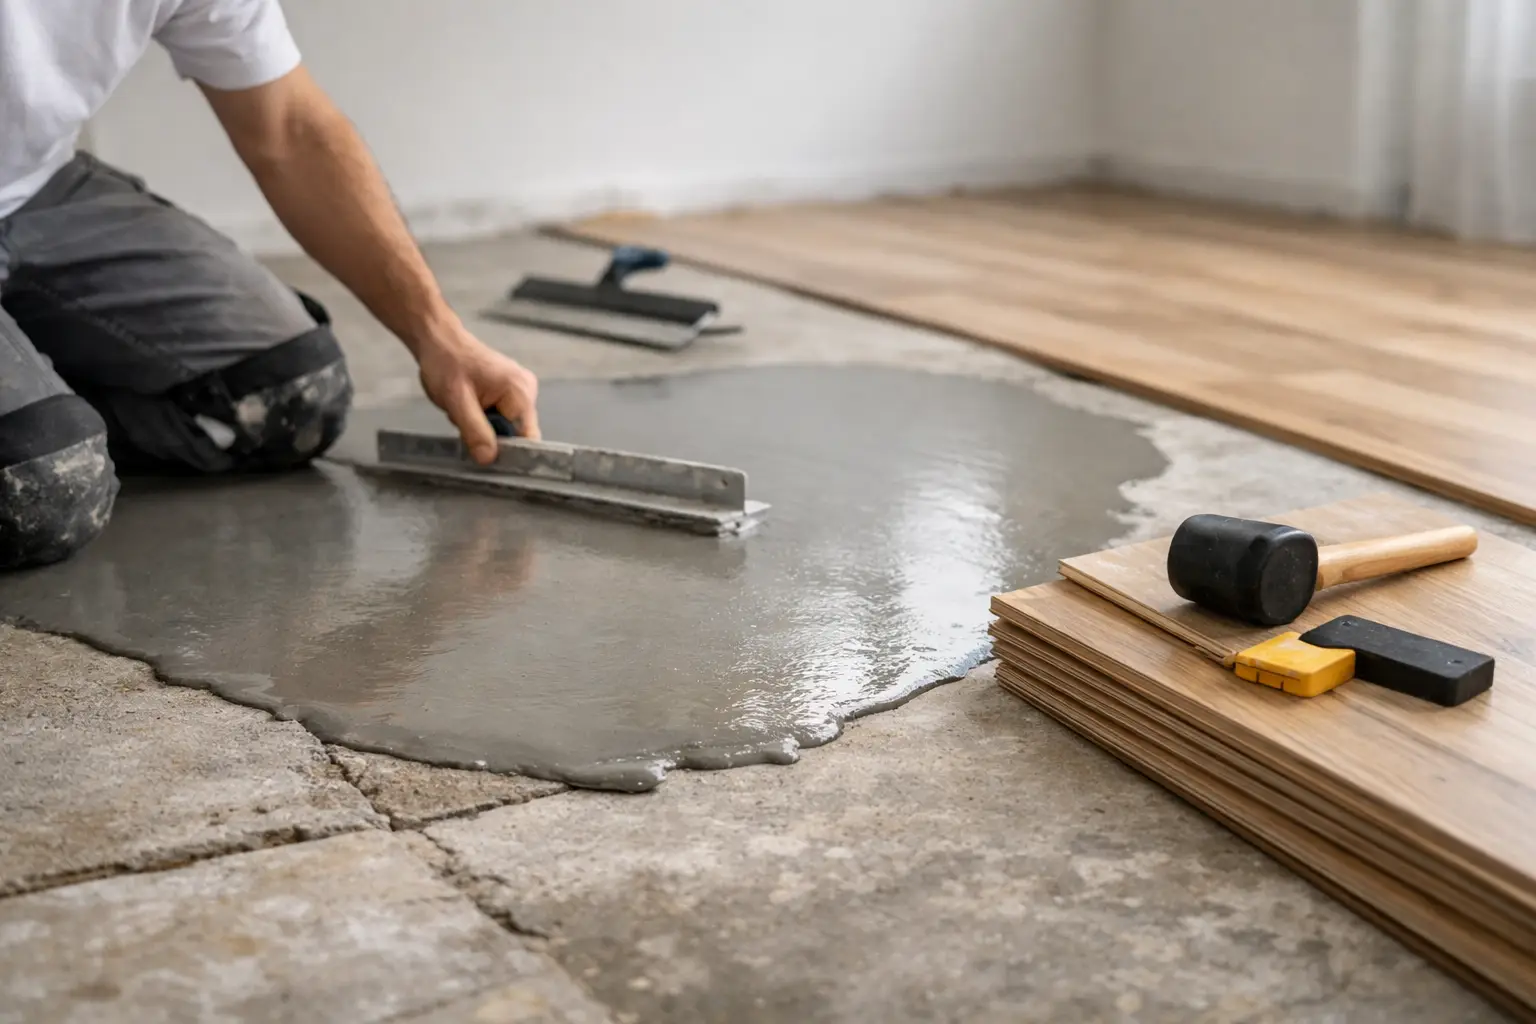
Preparing an uneven concrete subfloor
Concrete is common in apartments, modern homes and many commercial spaces. It is also one of the more straightforward subfloors to correct when the problem is surface variation rather than structural movement.
The first step is cleaning the slab properly. Dust, paint, adhesive residue and loose material need to be removed so any repair product can bond correctly. After that, high spots are usually ground back. Low spots are then filled or, where variation is more widespread, a self-levelling compound is applied across the area.
This is where product choice matters. Not all levelling compounds perform the same way, and the wrong one can break down, powder or fail to bond. At Melbourne Quality Timber Flooring, correct subfloor preparation is a major part of achieving a stable result, which is why professional-grade products such as Cemimax self-levelling compound are often used where appropriate.
The goal is not simply to make the slab look smoother. It is to create a flat, stable and compatible base for the flooring system going on top.
When grinding is enough and when it is not
If the slab only has a few raised points, grinding may be all that is needed. This is common around old patch lines, rough trowel marks or minor transitions between rooms.
If there are broader depressions or multiple areas of variation, grinding alone will not solve it. In that case, filling isolated sections or applying levelling compound over a larger zone is usually the better option. It depends on the extent of the issue, the flooring type and the finished floor height available.
Preparing an uneven timber subfloor
Timber subfloors need a different approach because the movement may be coming from the structure underneath, not just the top surface. If the sheets or boards are loose, they need to be re-fixed. If sections are swollen, delaminated or damaged, they may need replacing before any overlay or flooring installation begins.
Sometimes the unevenness is in the joists rather than the sheet flooring itself. That can mean packing, re-sheeting or more substantial carpentry work. Simply pouring a levelling product over a moving timber base is not always suitable.
For sheet timber subfloors, sanding down high joints may help in minor cases. For more pronounced variation, installers may use underlay systems, fibre cement underlay or replacement sheeting depending on the floor covering being installed. Again, there is no single answer that fits every job.
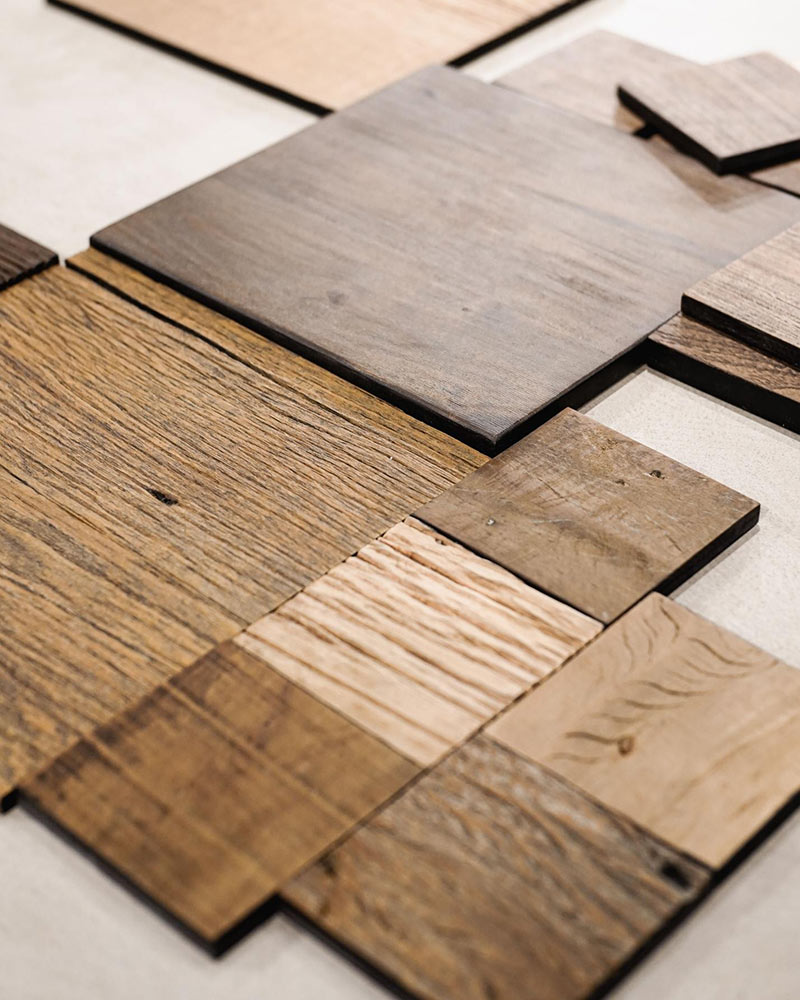
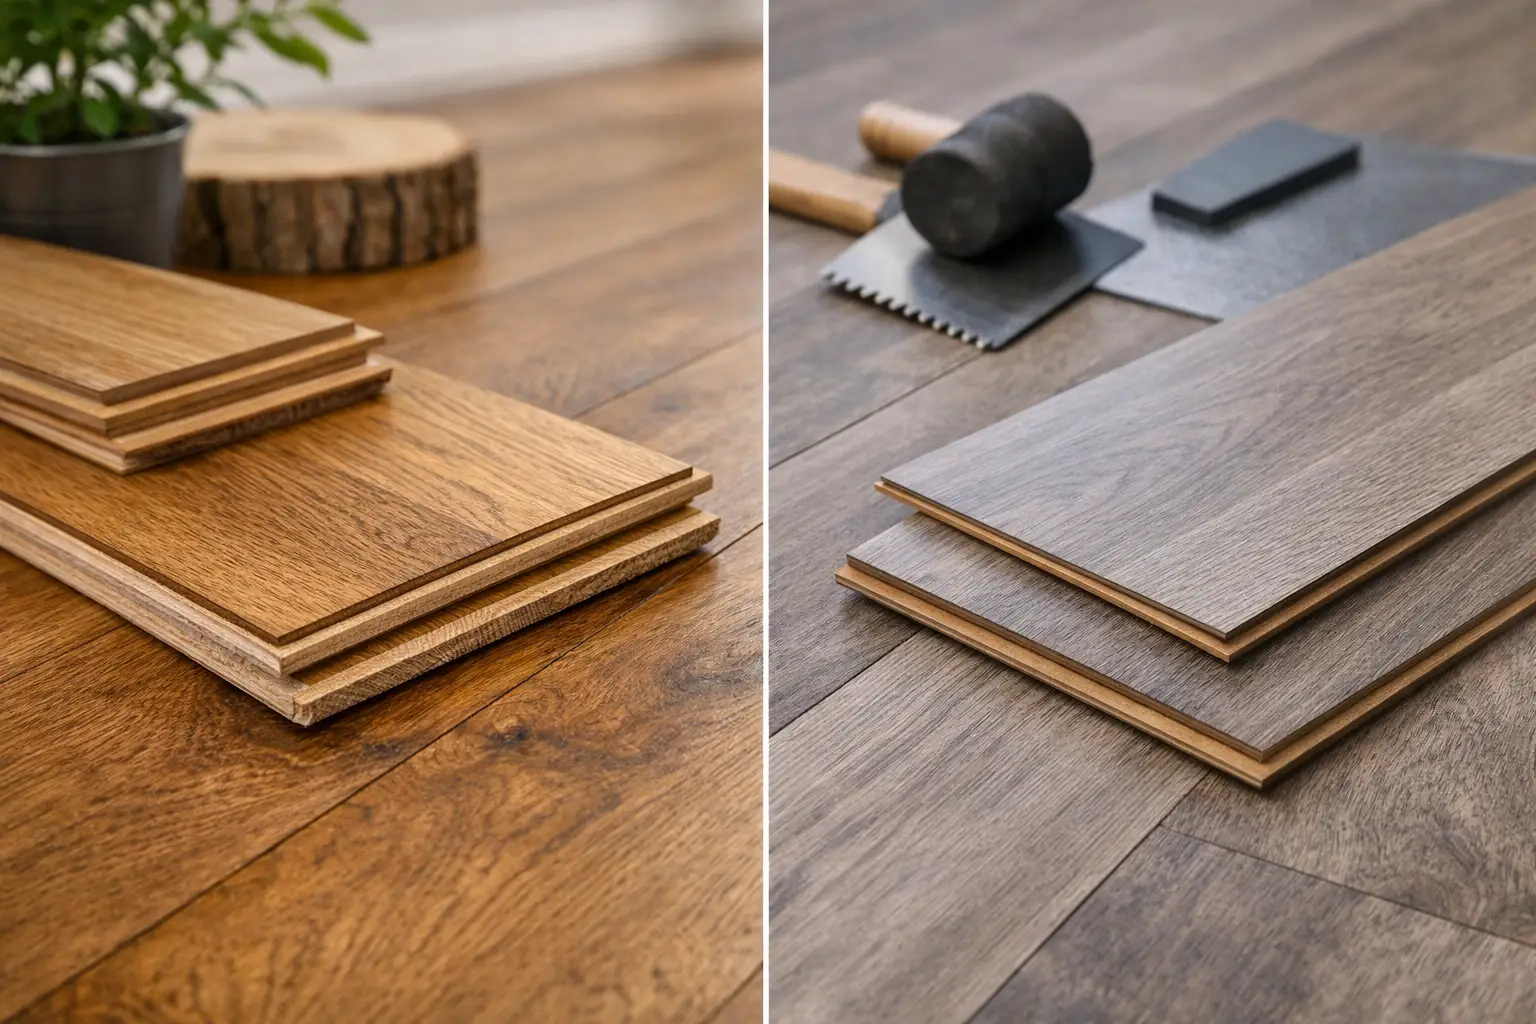
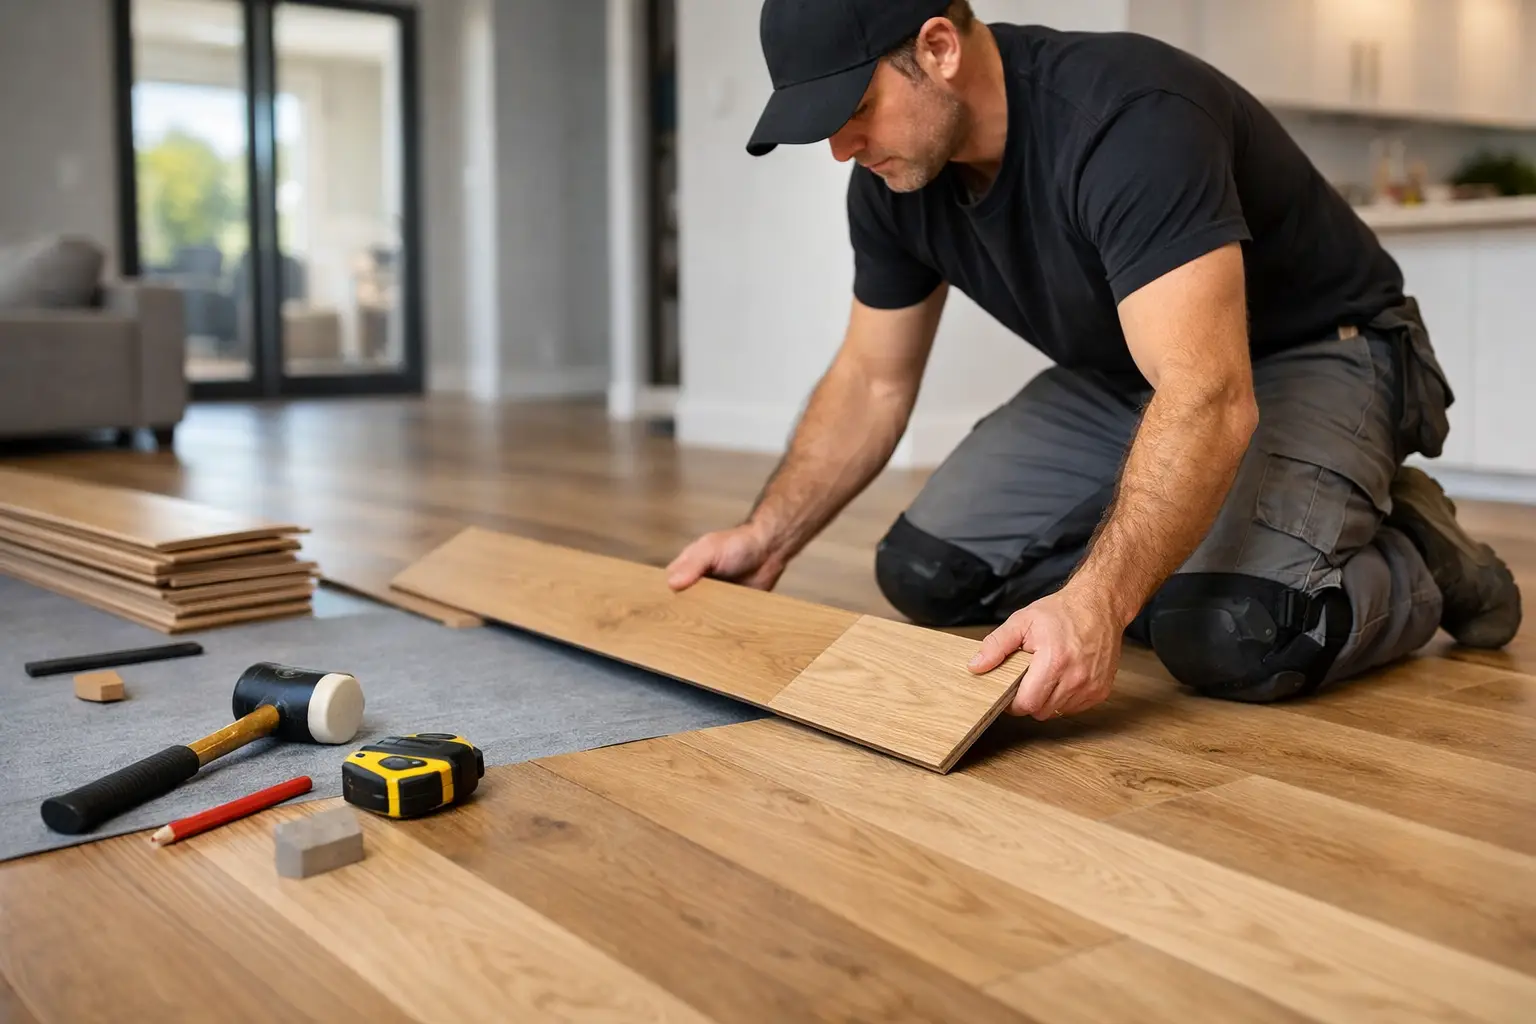
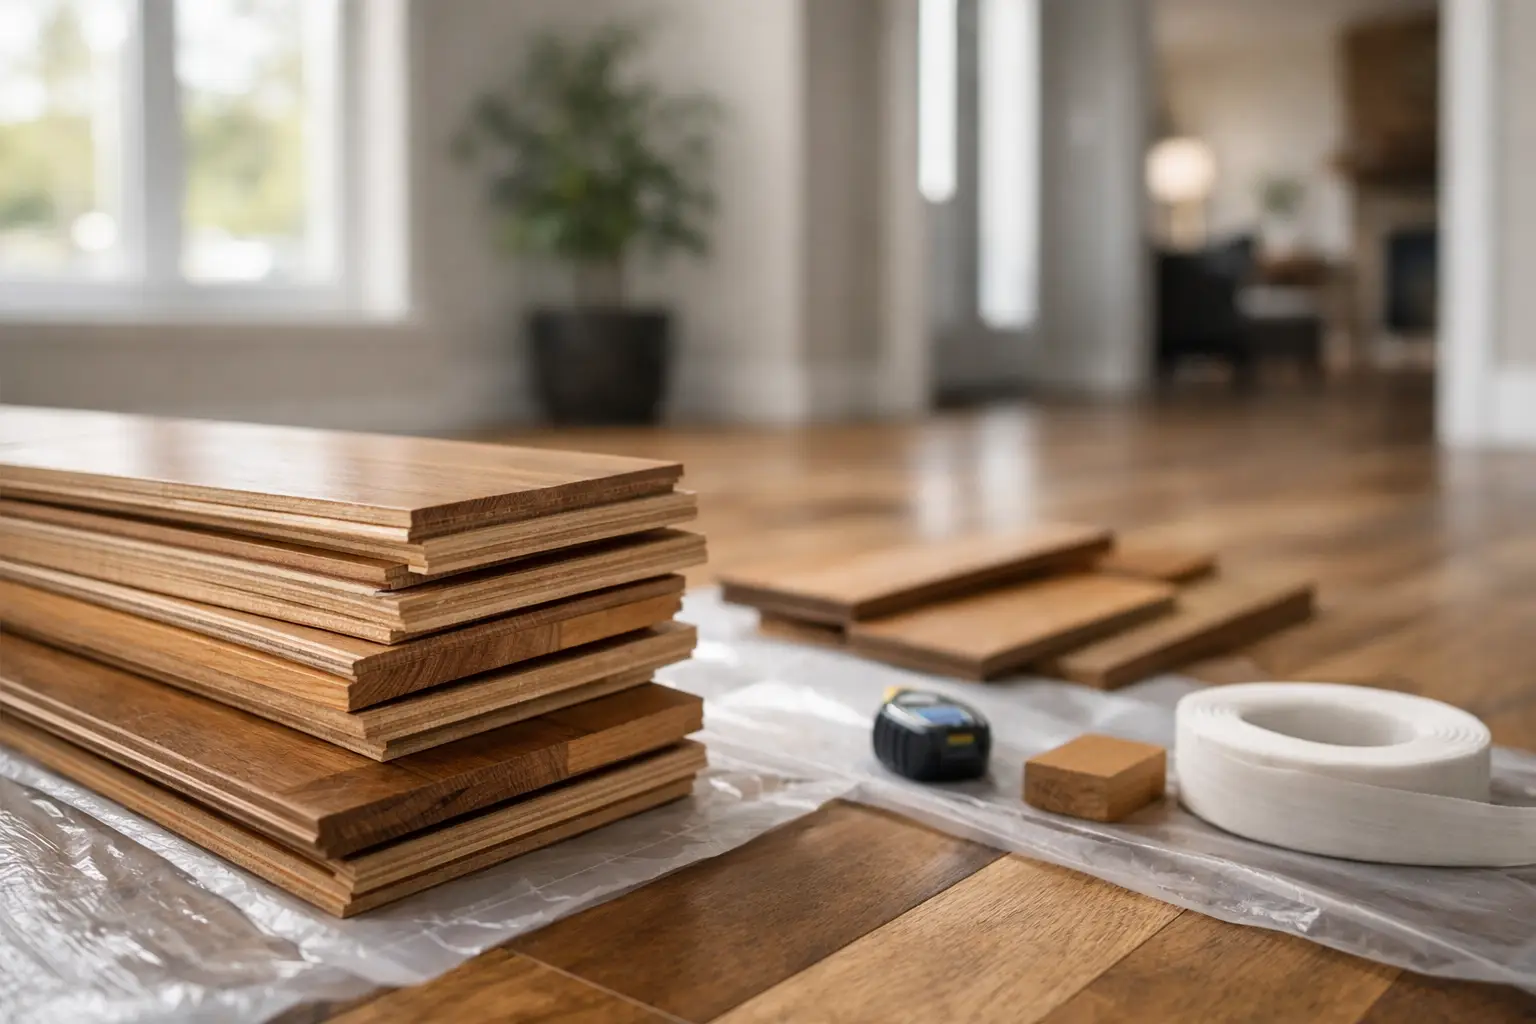
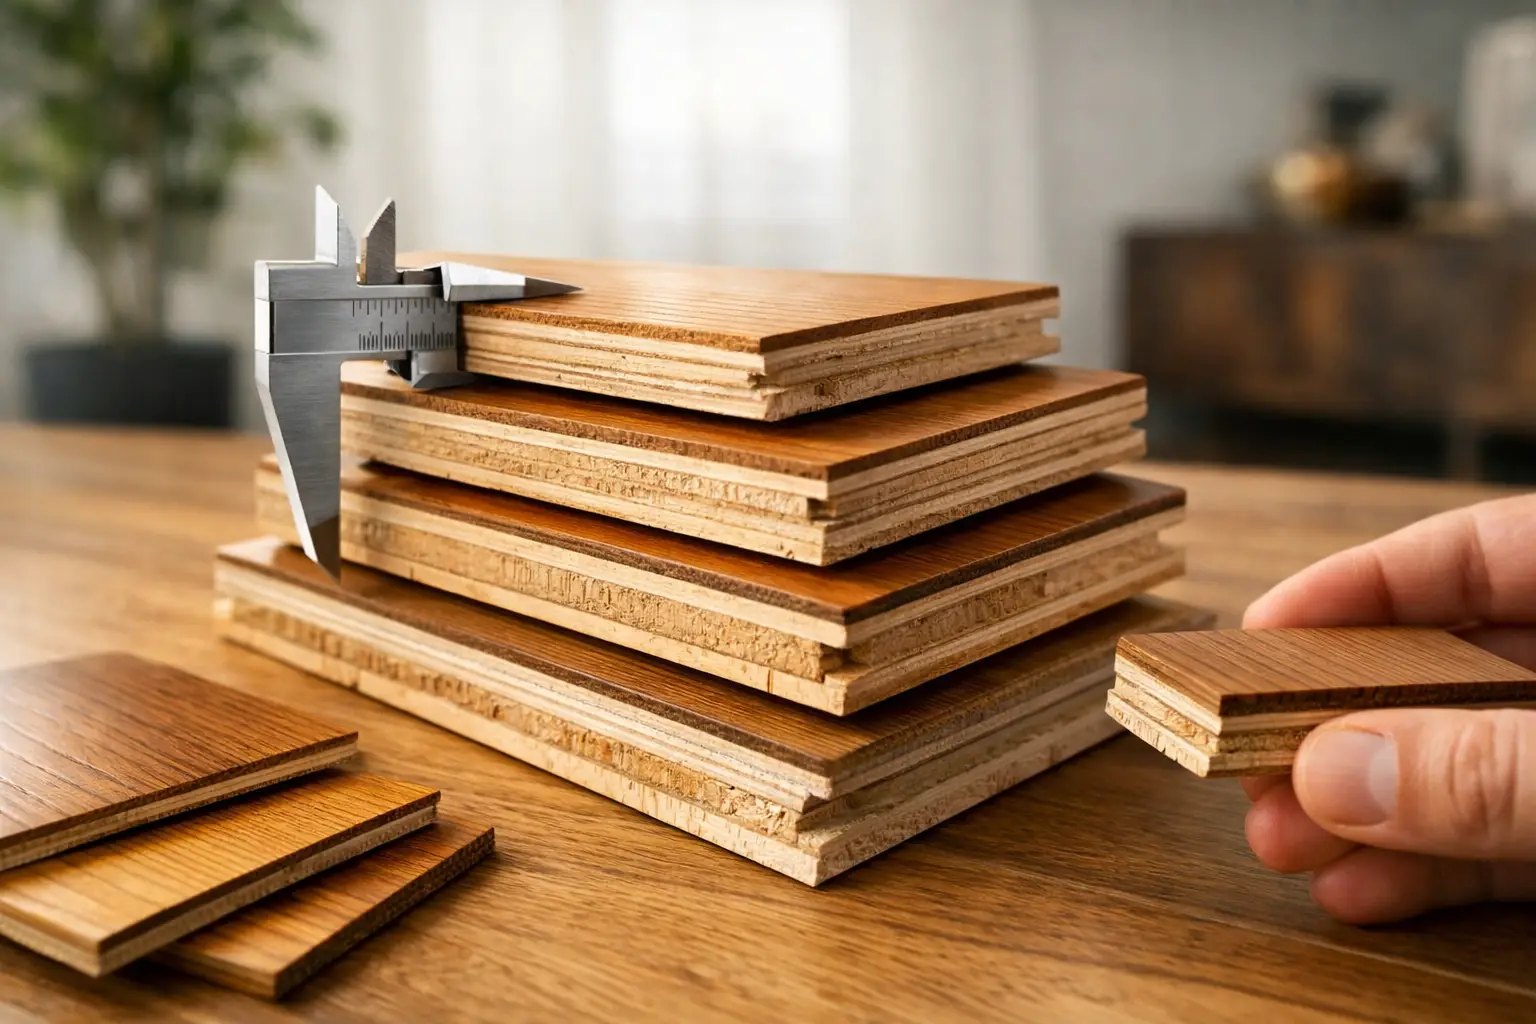
Match the preparation method to the flooring
Different flooring products have different tolerances and installation methods. That affects how precise the subfloor preparation needs to be.
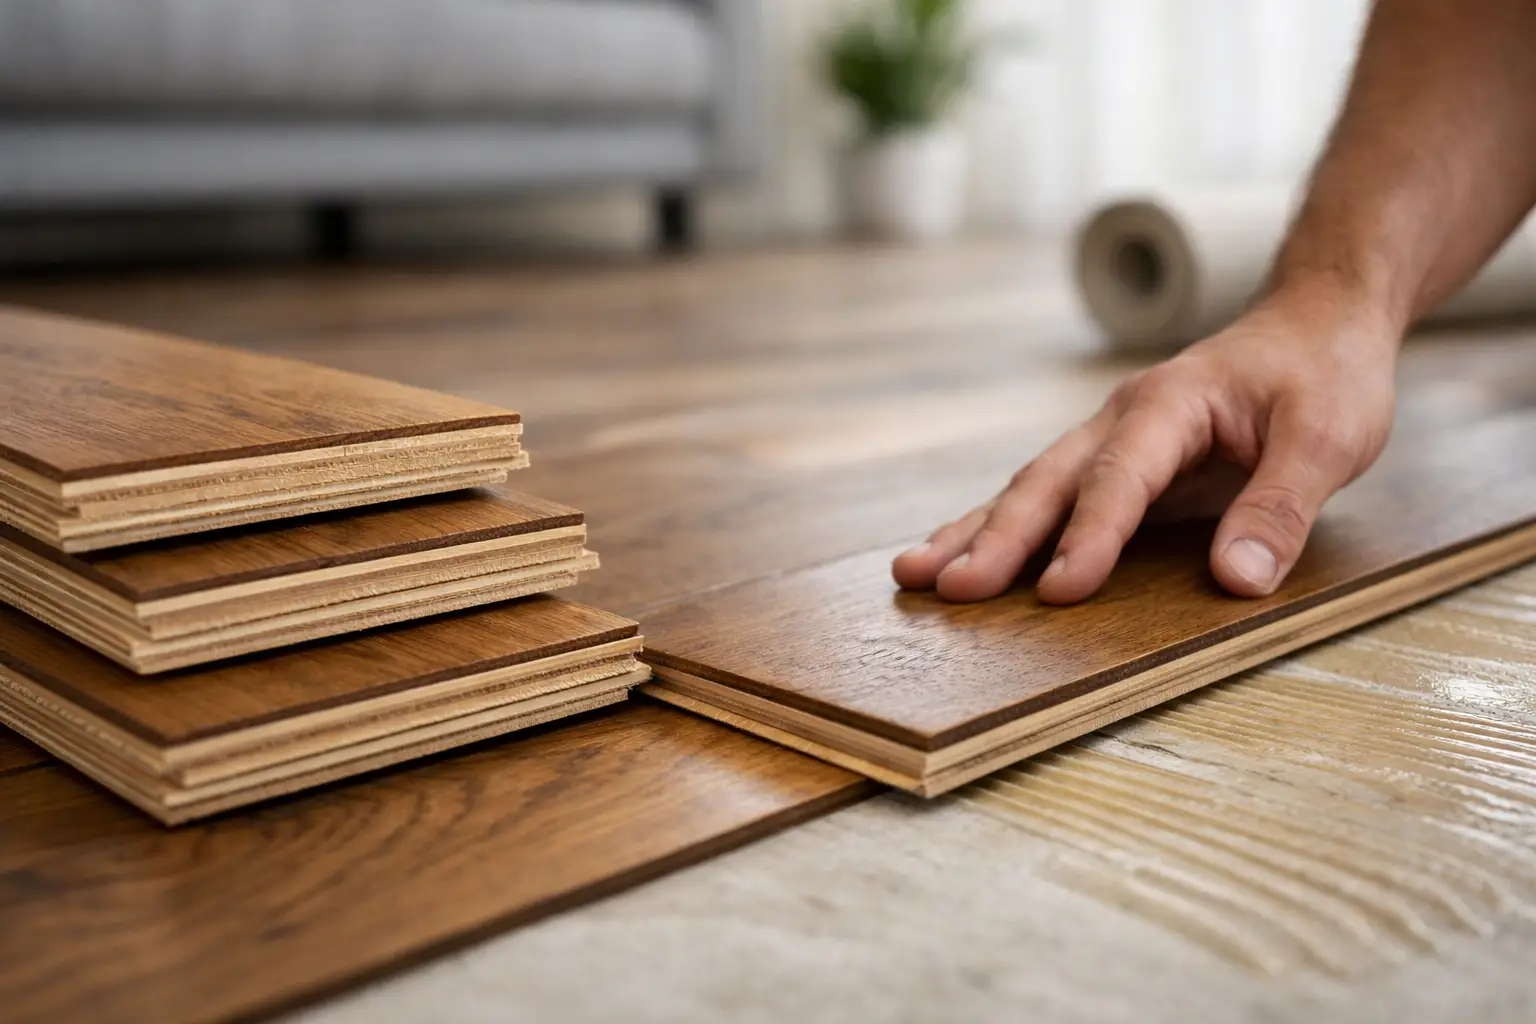
Engineered timber often demands tighter control because the boards are usually longer and more visible once installed. Any irregularity beneath them can show up as movement or an inconsistent finish. Hybrid flooring is often marketed as forgiving, but that should not be taken to mean it can hide poor prep. Laminate can also suffer from joint stress and drummy sound if the base is not flat enough.
Herringbone layouts are even less forgiving. Because the pattern relies on accurate board alignment, any subfloor inconsistency can affect both the look and the fit. This is one reason premium flooring jobs should always start with a serious site assessment.
Common shortcuts that cause expensive problems
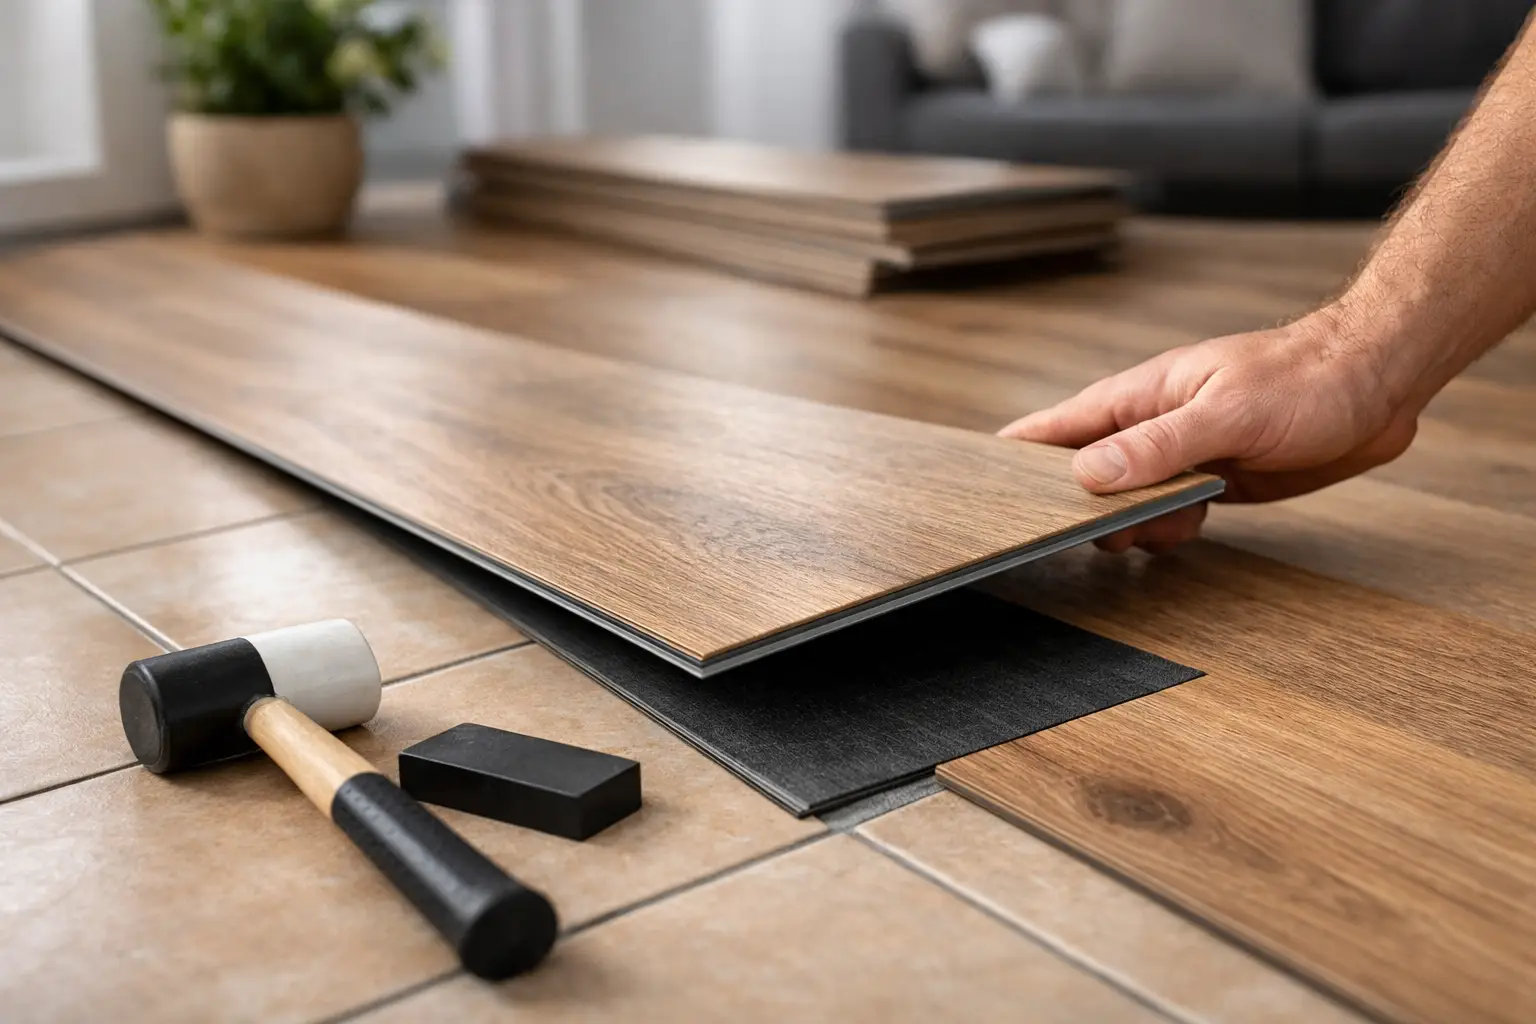
One of the most common mistakes is trying to use underlay to compensate for an uneven subfloor. Underlay has a purpose, but it is not there to hide dips and humps. If the base is out, the flooring system above it is still likely to move.
Another shortcut is spot-filling without properly checking the whole room. You fix one obvious dip, install the floor, and then the next low or high point creates noise or board stress elsewhere. Rushing curing times is another issue. Levelling products need proper drying before flooring goes down, particularly when moisture-sensitive materials are involved.
There is also the question of product suitability. Some cheaper flooring products leave less margin for error. If the locking system is weaker or the board construction is less stable, subfloor accuracy becomes even more critical.
When to call a professional
If the unevenness is minor and you have the right tools and product data, some prep work is manageable. But if you are dealing with multiple rooms, visible slab variation, moisture concerns, timber subfloor movement or a premium finish such as European oak or herringbone, professional assessment is the safer path.
A proper installer looks beyond the floor covering and works backwards from the site conditions. That is what protects the investment. Former installers tend to spot issues early because they have seen what happens when preparation is rushed or underestimated.
For property owners, that usually means fewer surprises during installation and a better result once the floor is finished. For commercial spaces, it means less downtime and a lower chance of defects after handover.
What good subfloor preparation should achieve
When the job is done properly, the finished subfloor should be clean, sound, flat and suitable for the chosen flooring product. It should also align with the required floor height, transition details and moisture conditions of the site.
That may sound basic, but it is the difference between a floor that feels solid and performs well for years, and one that starts showing problems far too early. A premium board can only do so much if the base underneath has been ignored.
If you are planning new flooring, treat the subfloor as part of the product, not as an afterthought. The nicest finish in the room still relies on what is underneath it.